Ridgestone Exteriors

Ridgestone projects

Recent installations.

Windows and doors installed in London homes.

Seven windows replaced

Some of the windows in this house were older vinyl replacements and the rest were the original wood windows, about 50 years old.

Step 1

Before

A mix of original wood windows and older vinyl replacements.
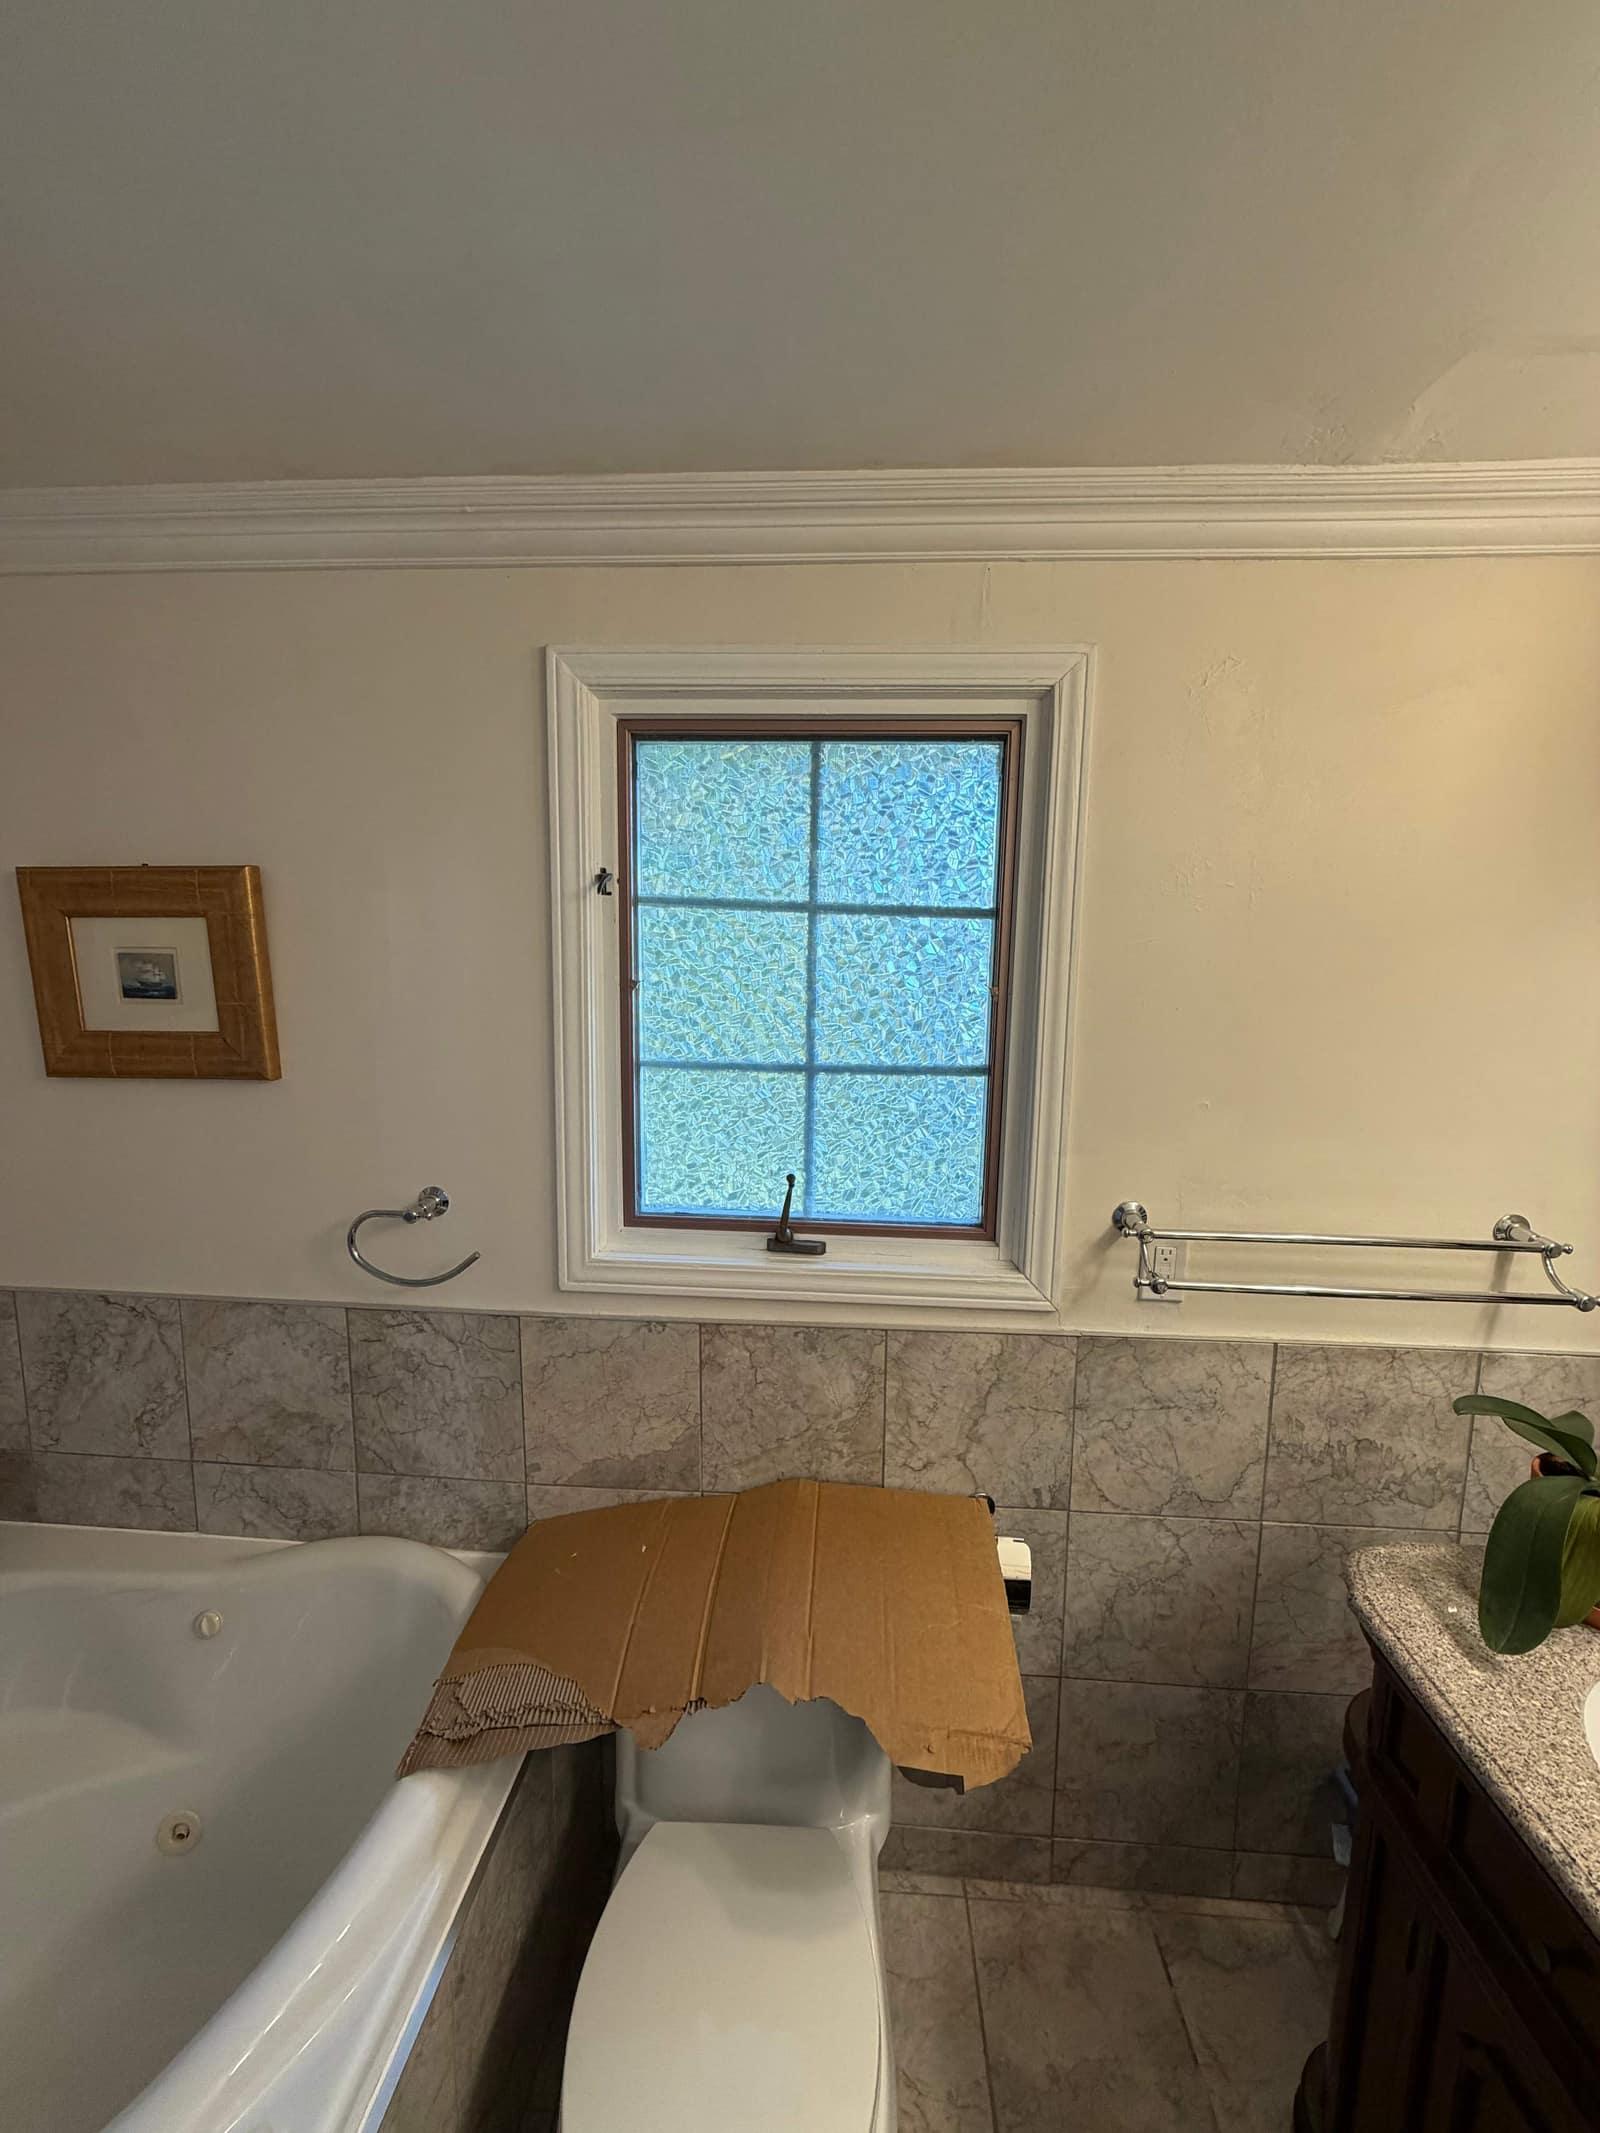
Original wood bathroom window with obscure glass
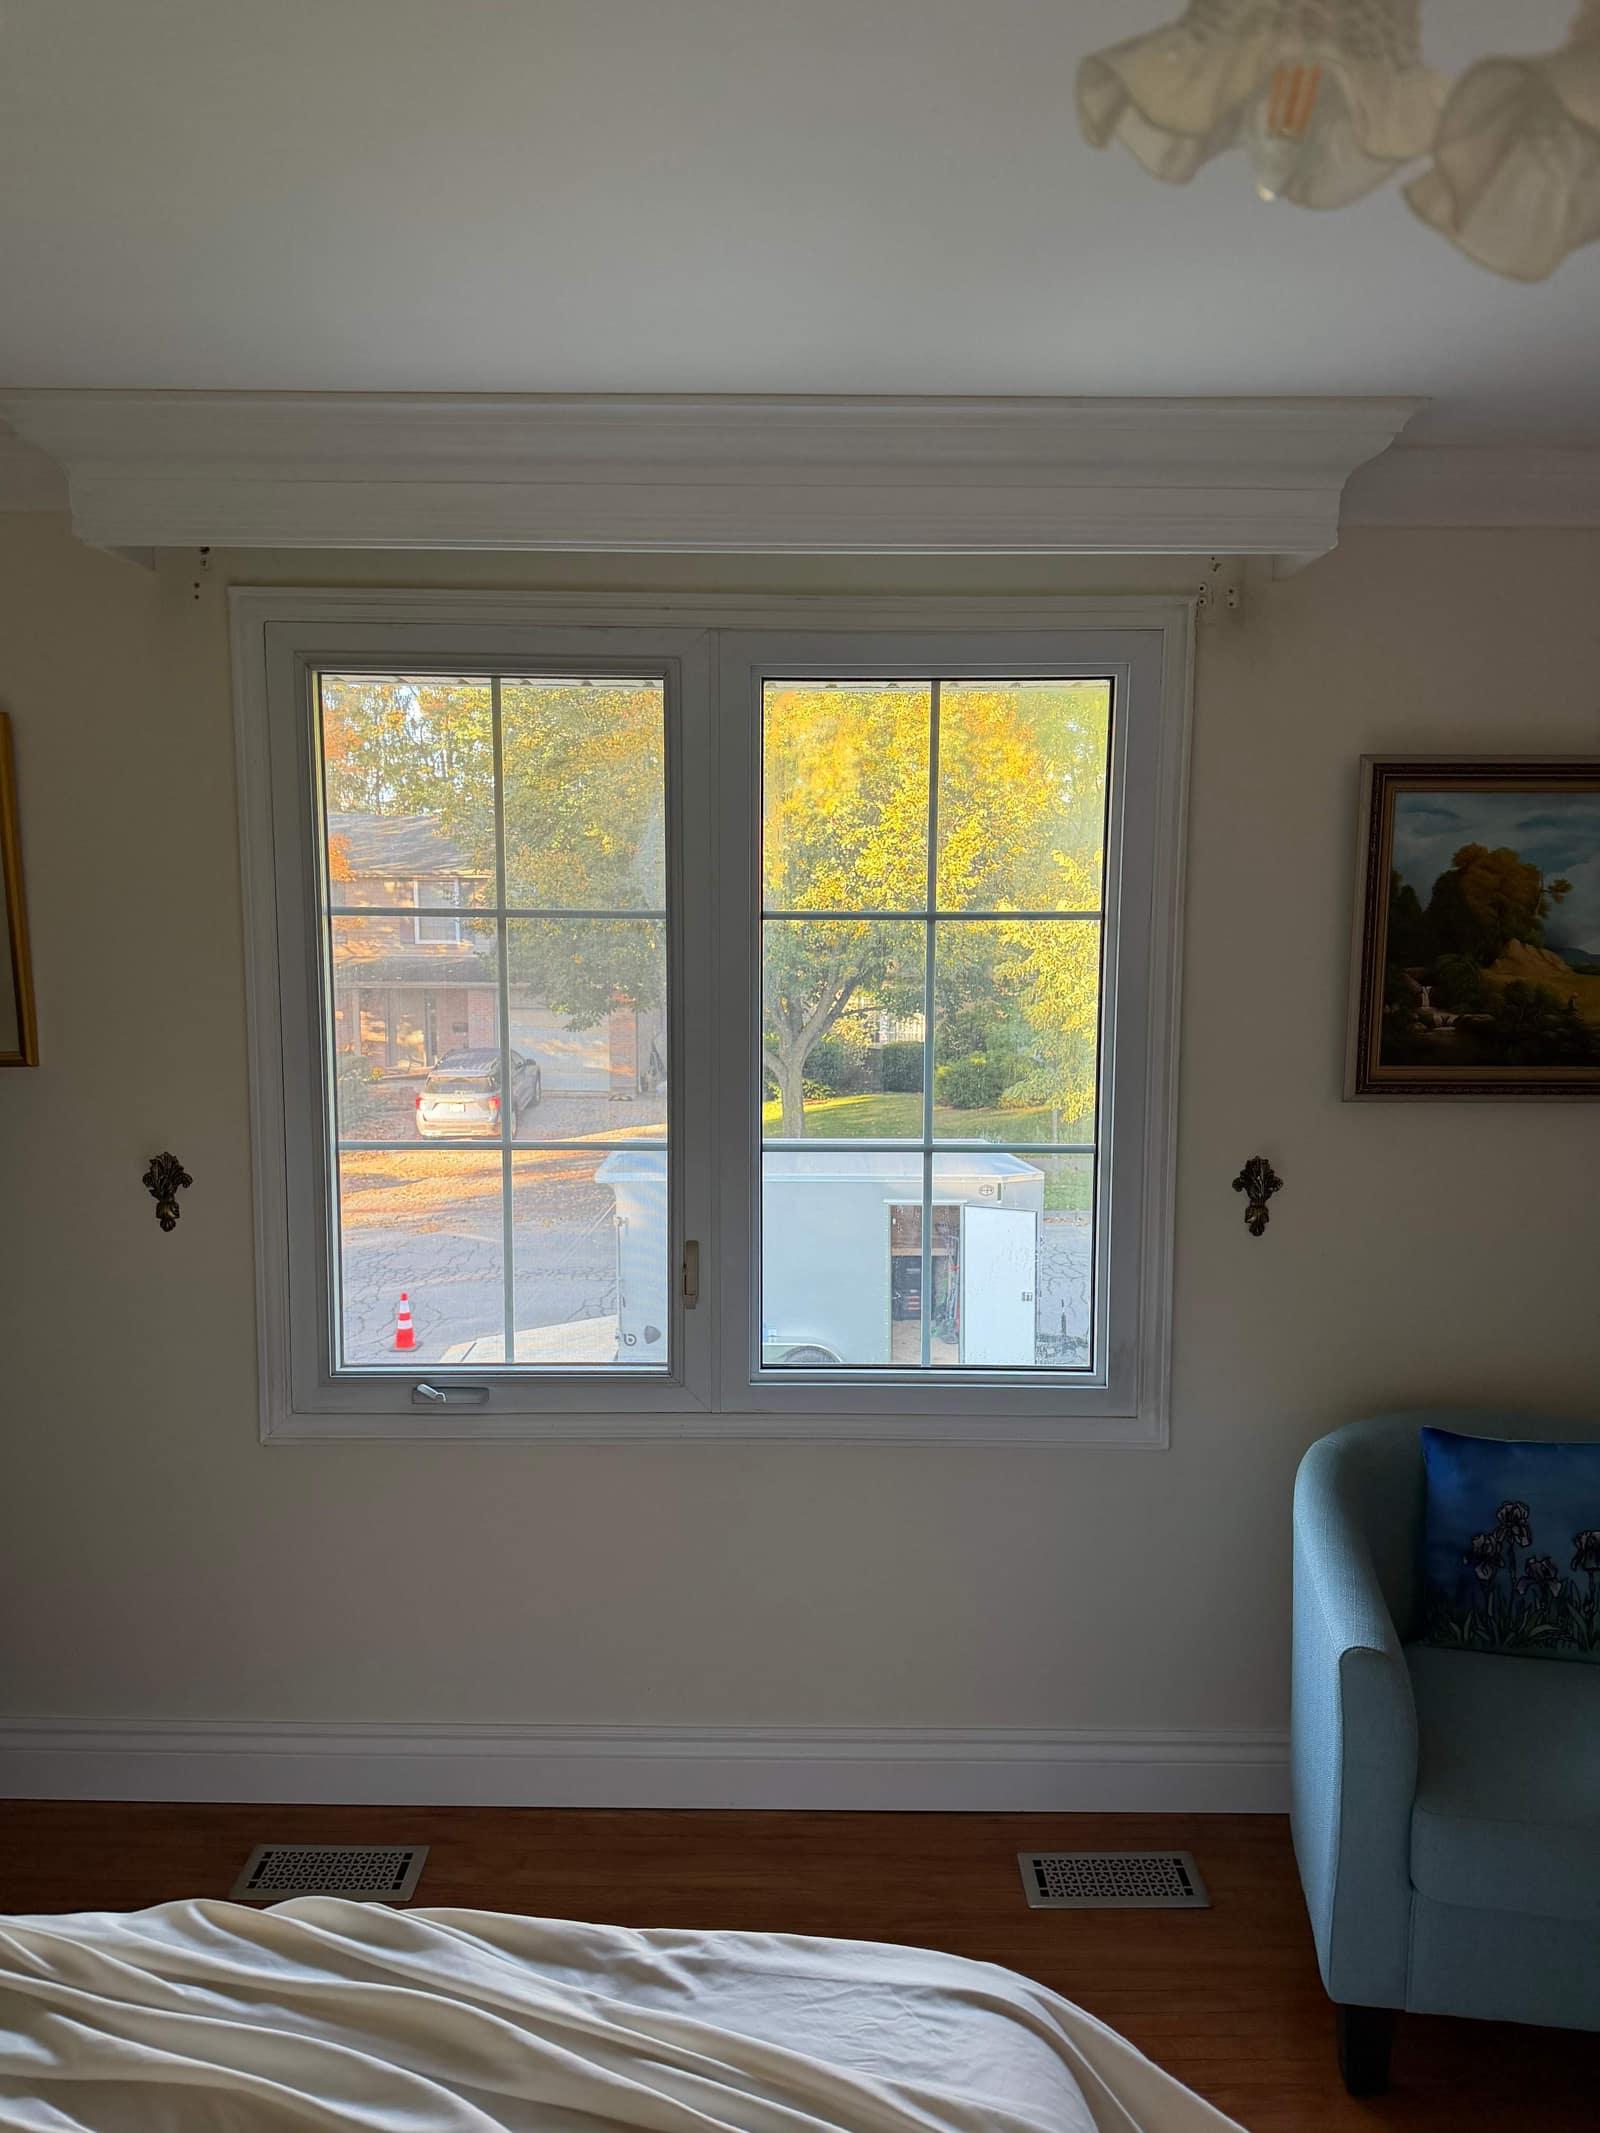
Older vinyl bedroom window with grilles

Step 2

Installing the windows

Every opening was flashed properly before the new window went in, then air sealed around the frame.
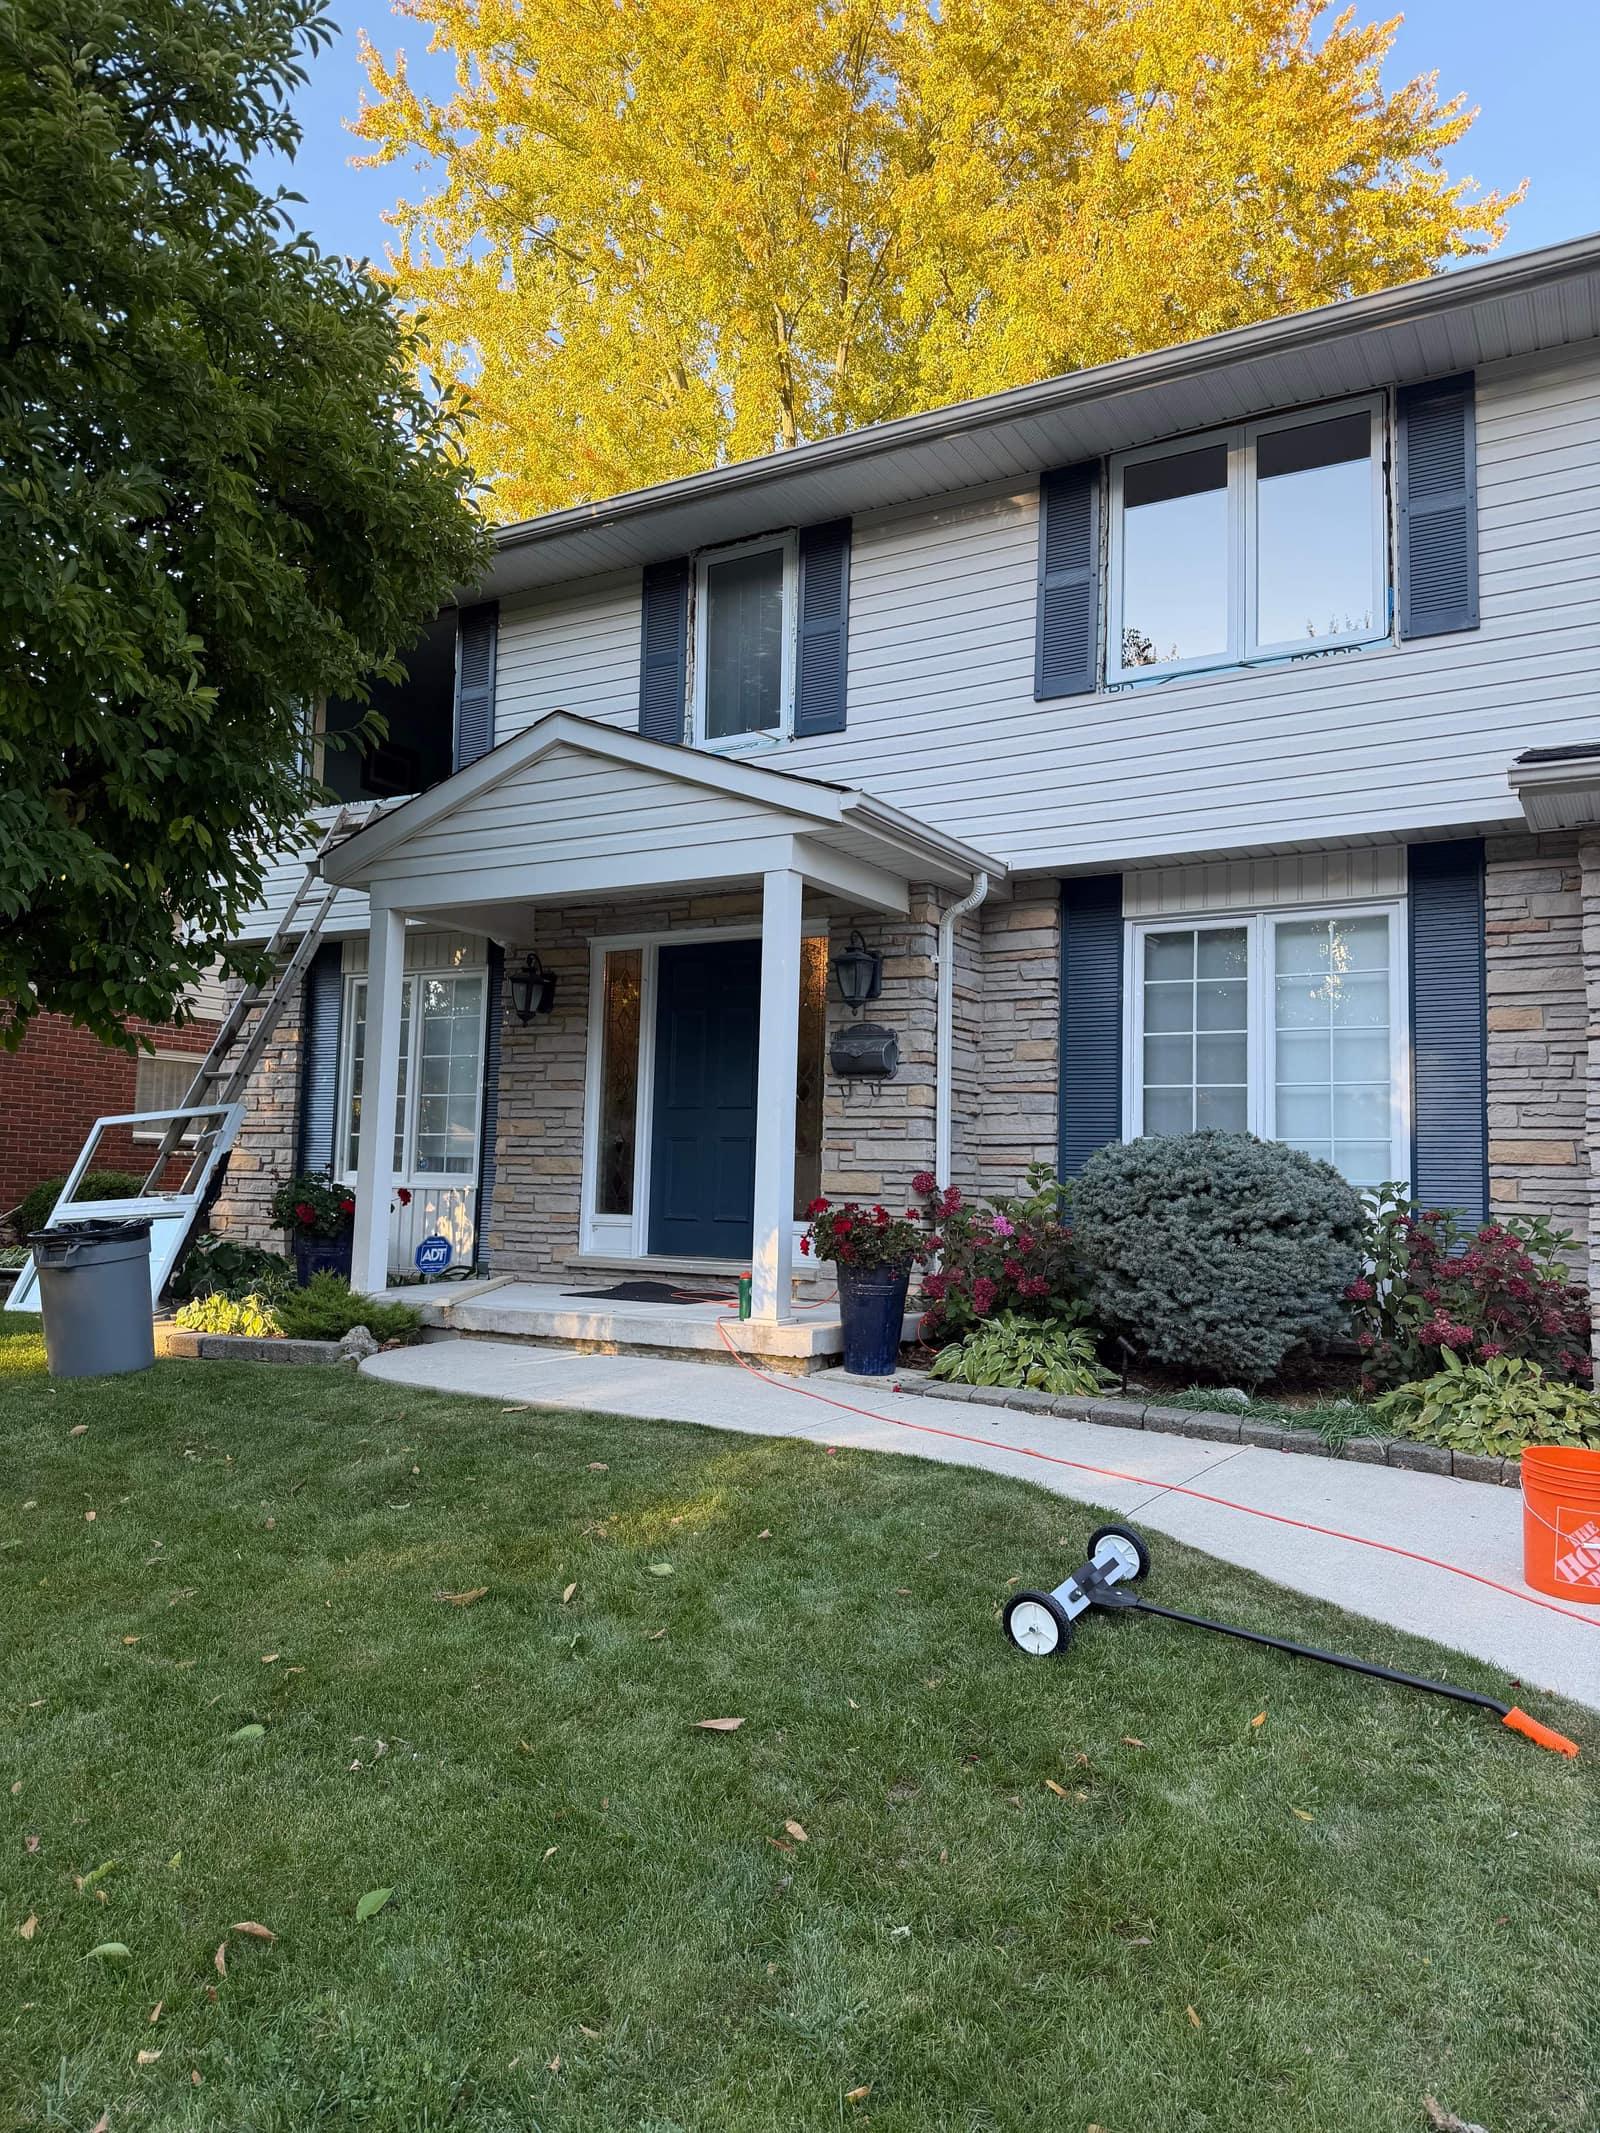
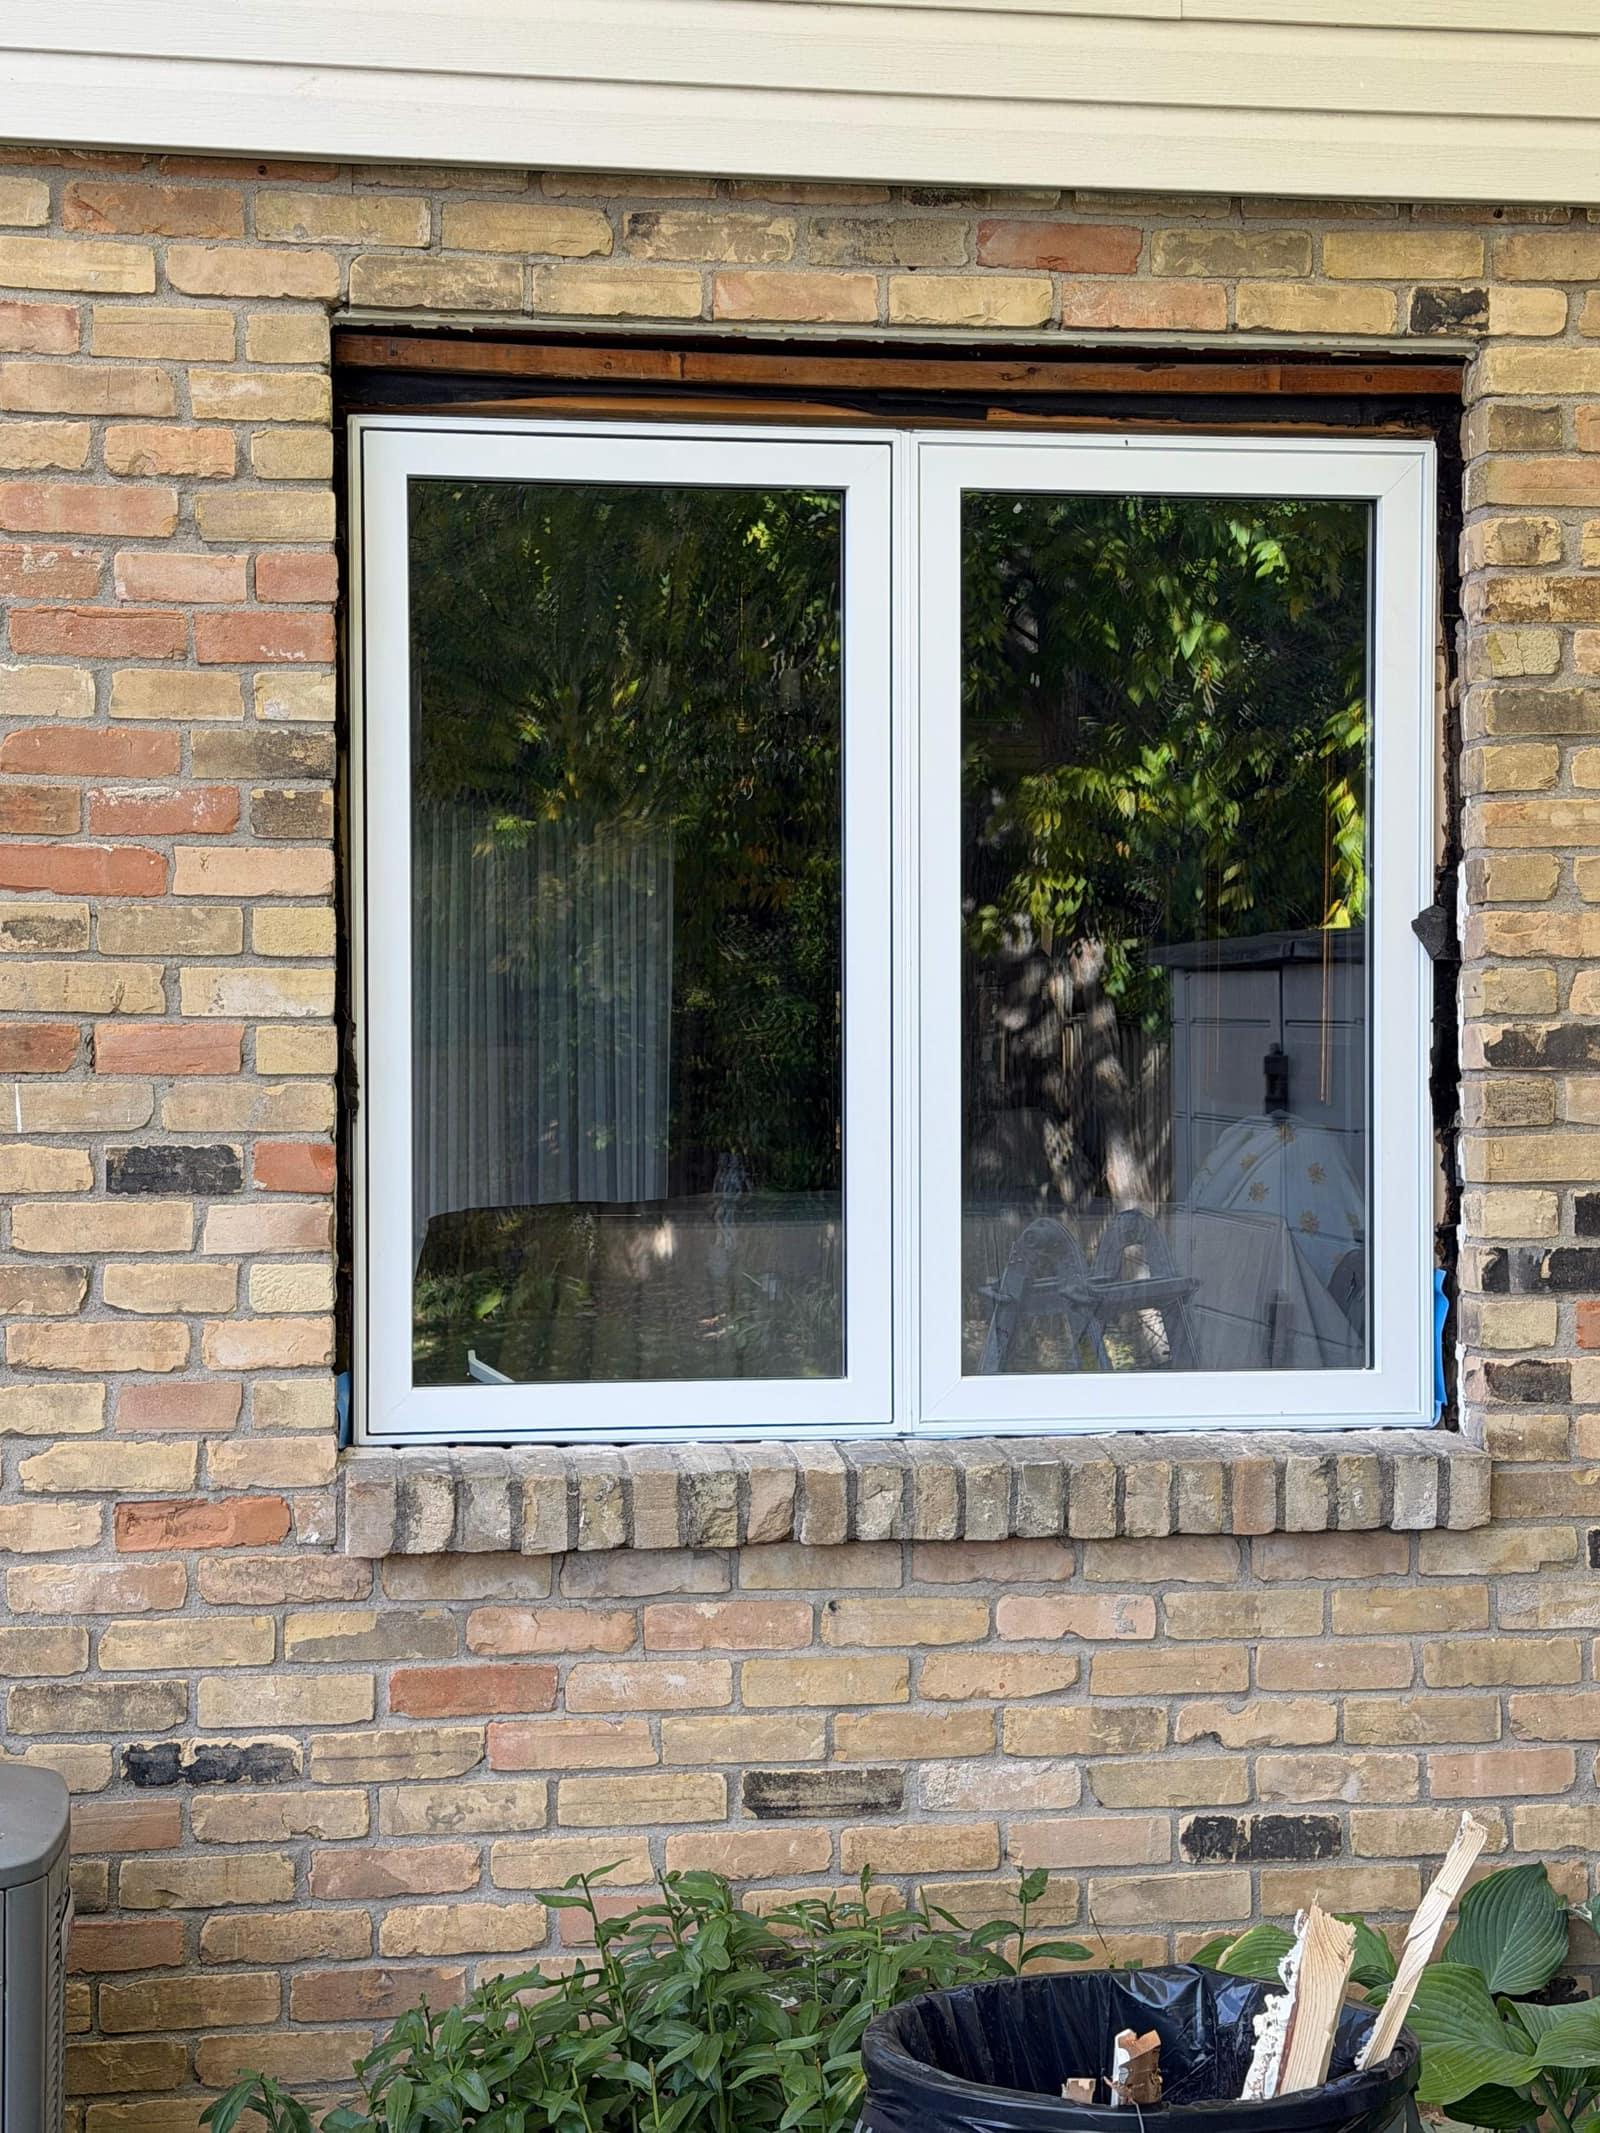
Front of the house mid-job, with the old upstairs windows out and new ones going in
New window set in the brick opening before the exterior trim goes on

Step 3

Finished

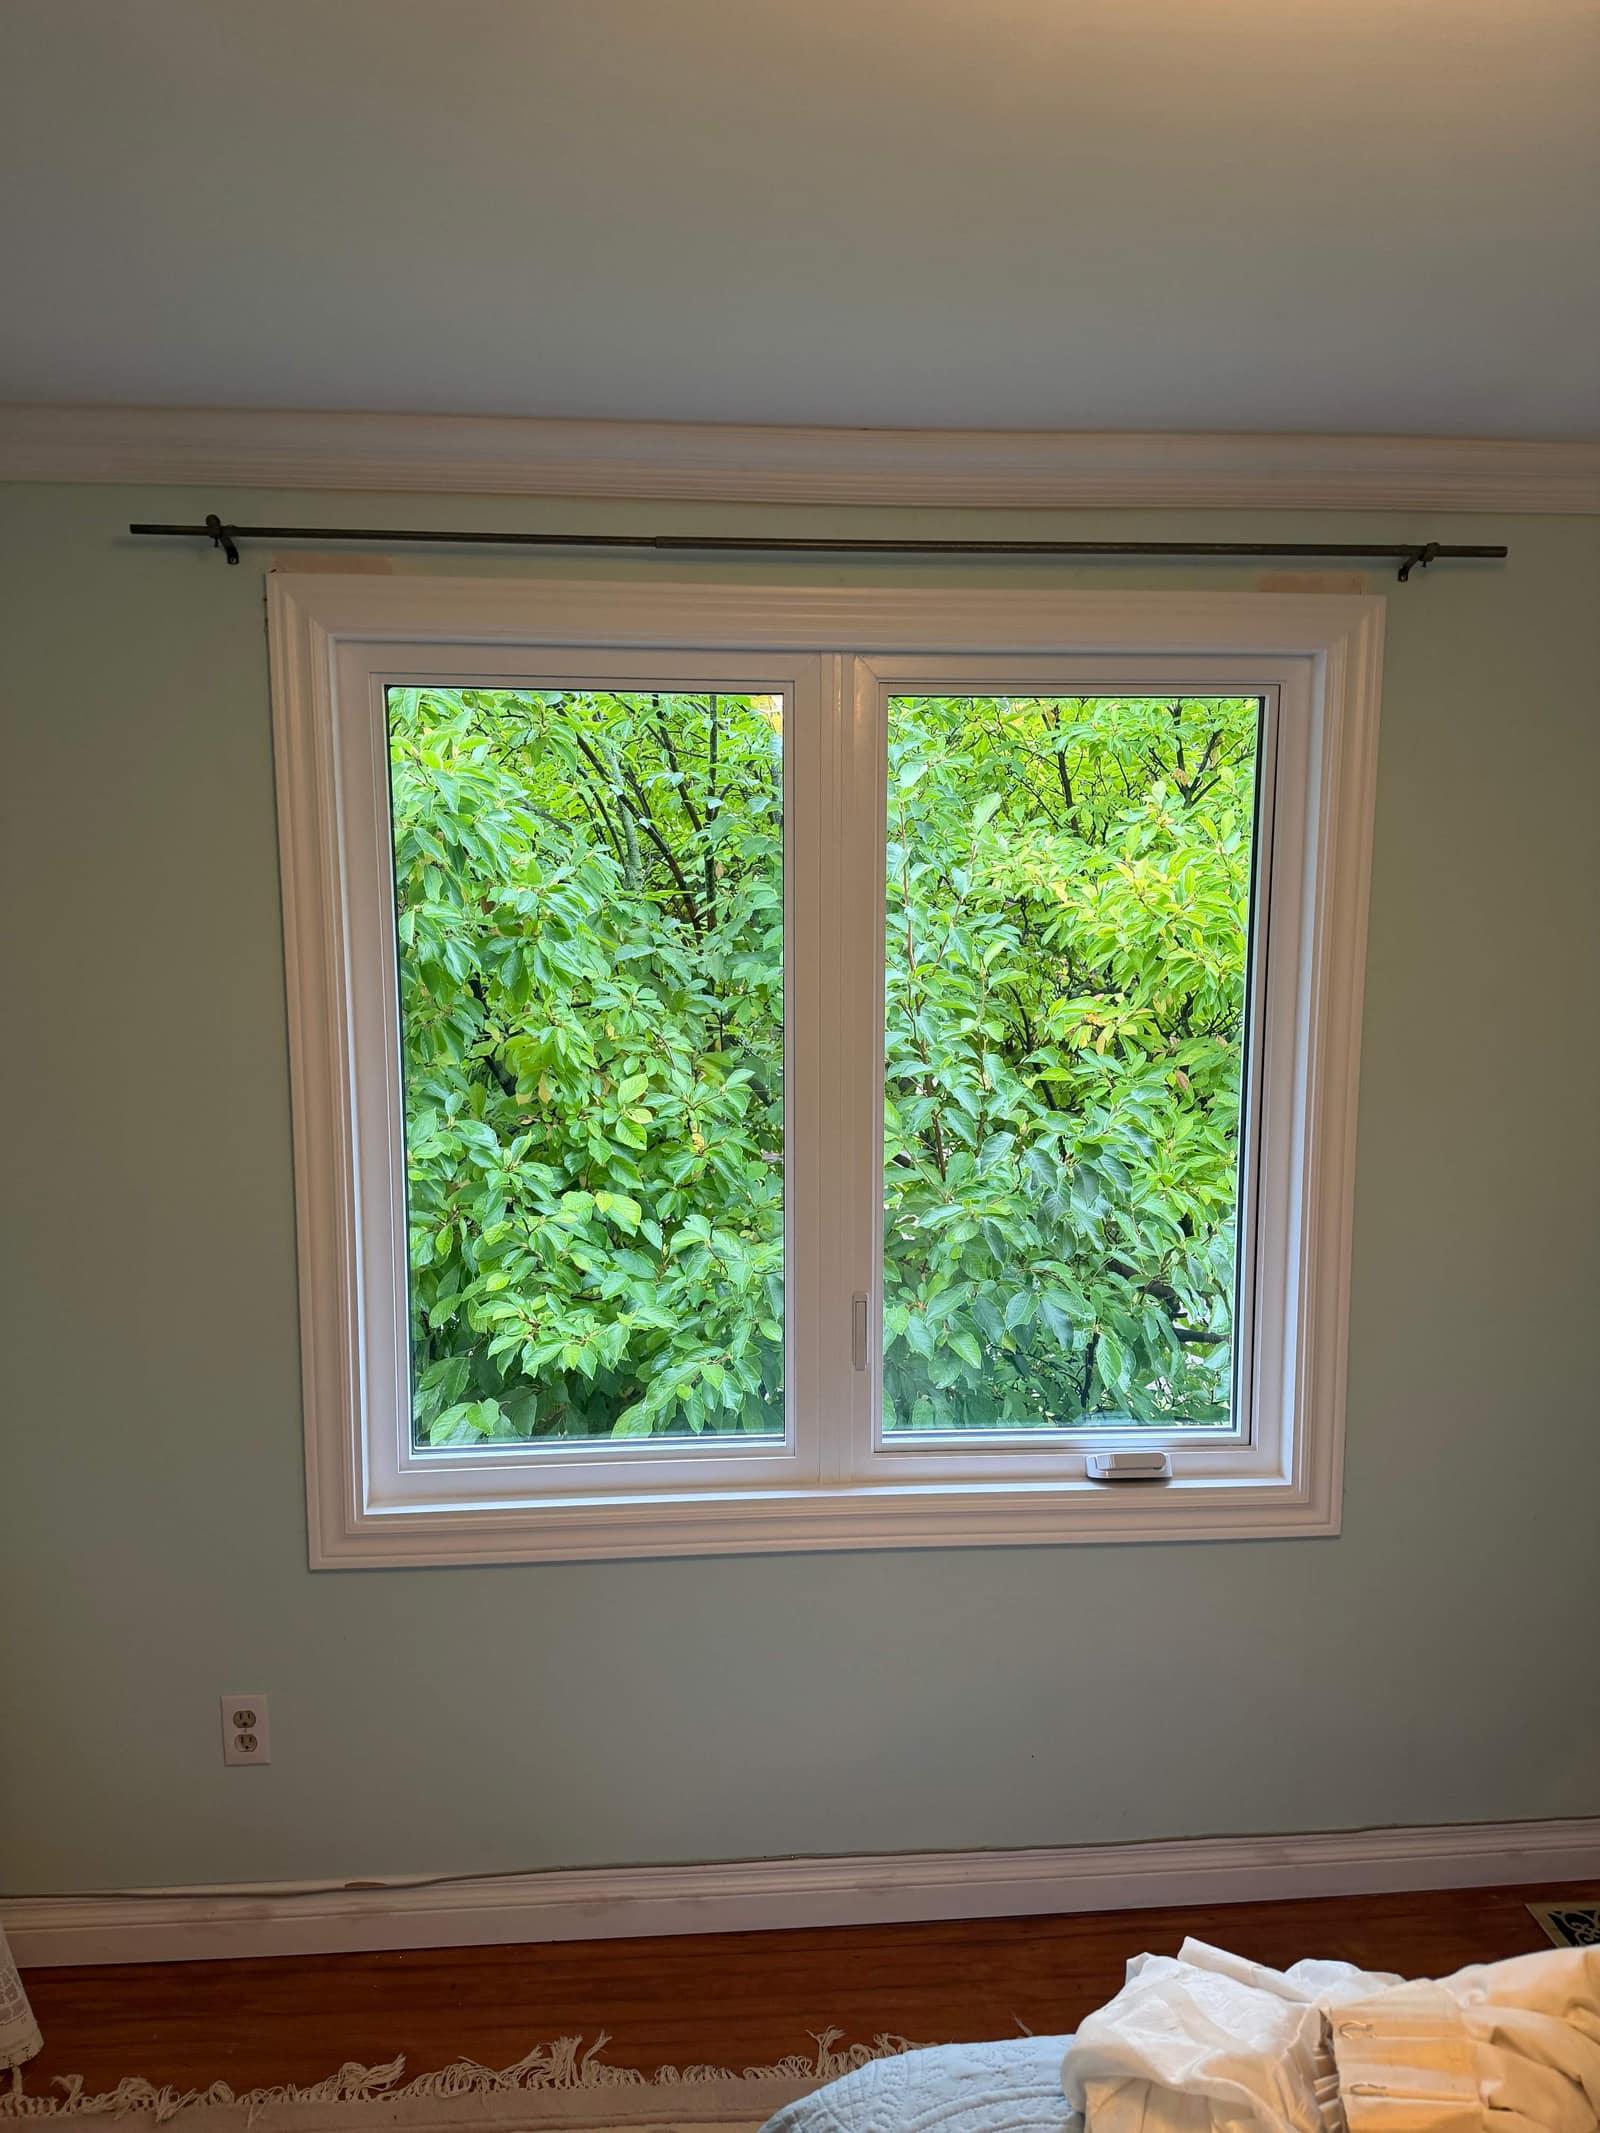
The jambs and casings were painted with high-quality Benjamin Moore paint.
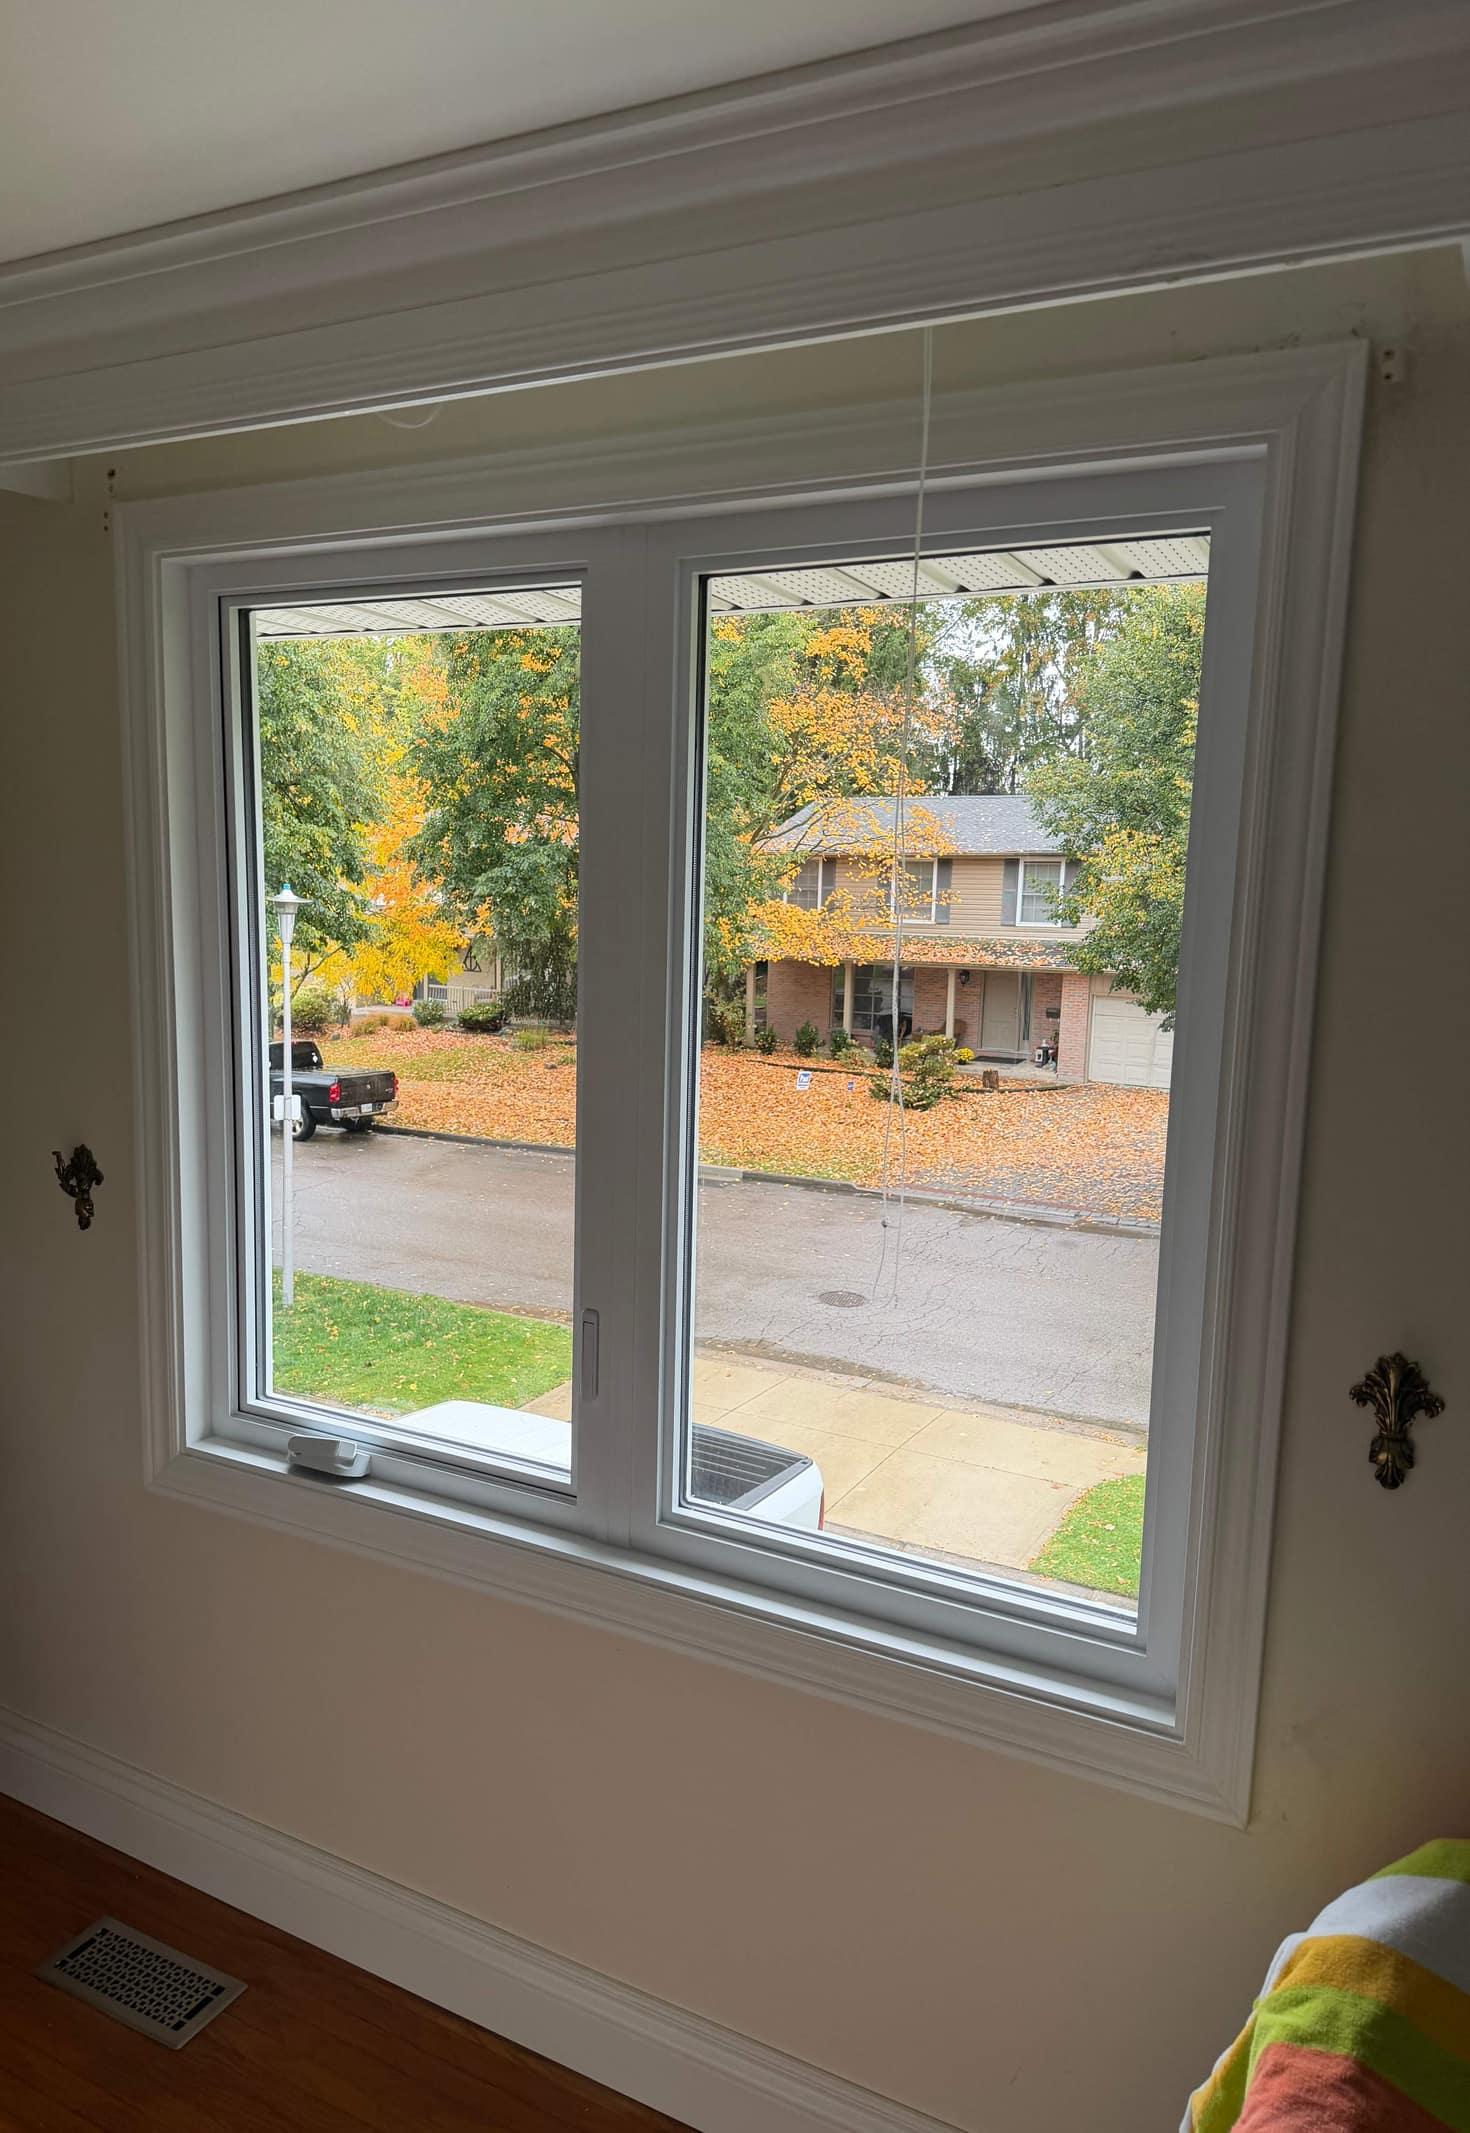
New white casement window in the front bedroom, looking out to the street
New white casement window in a back bedroom, trimmed inside

Bedroom window in new dormer

Step 1

Prepping the opening

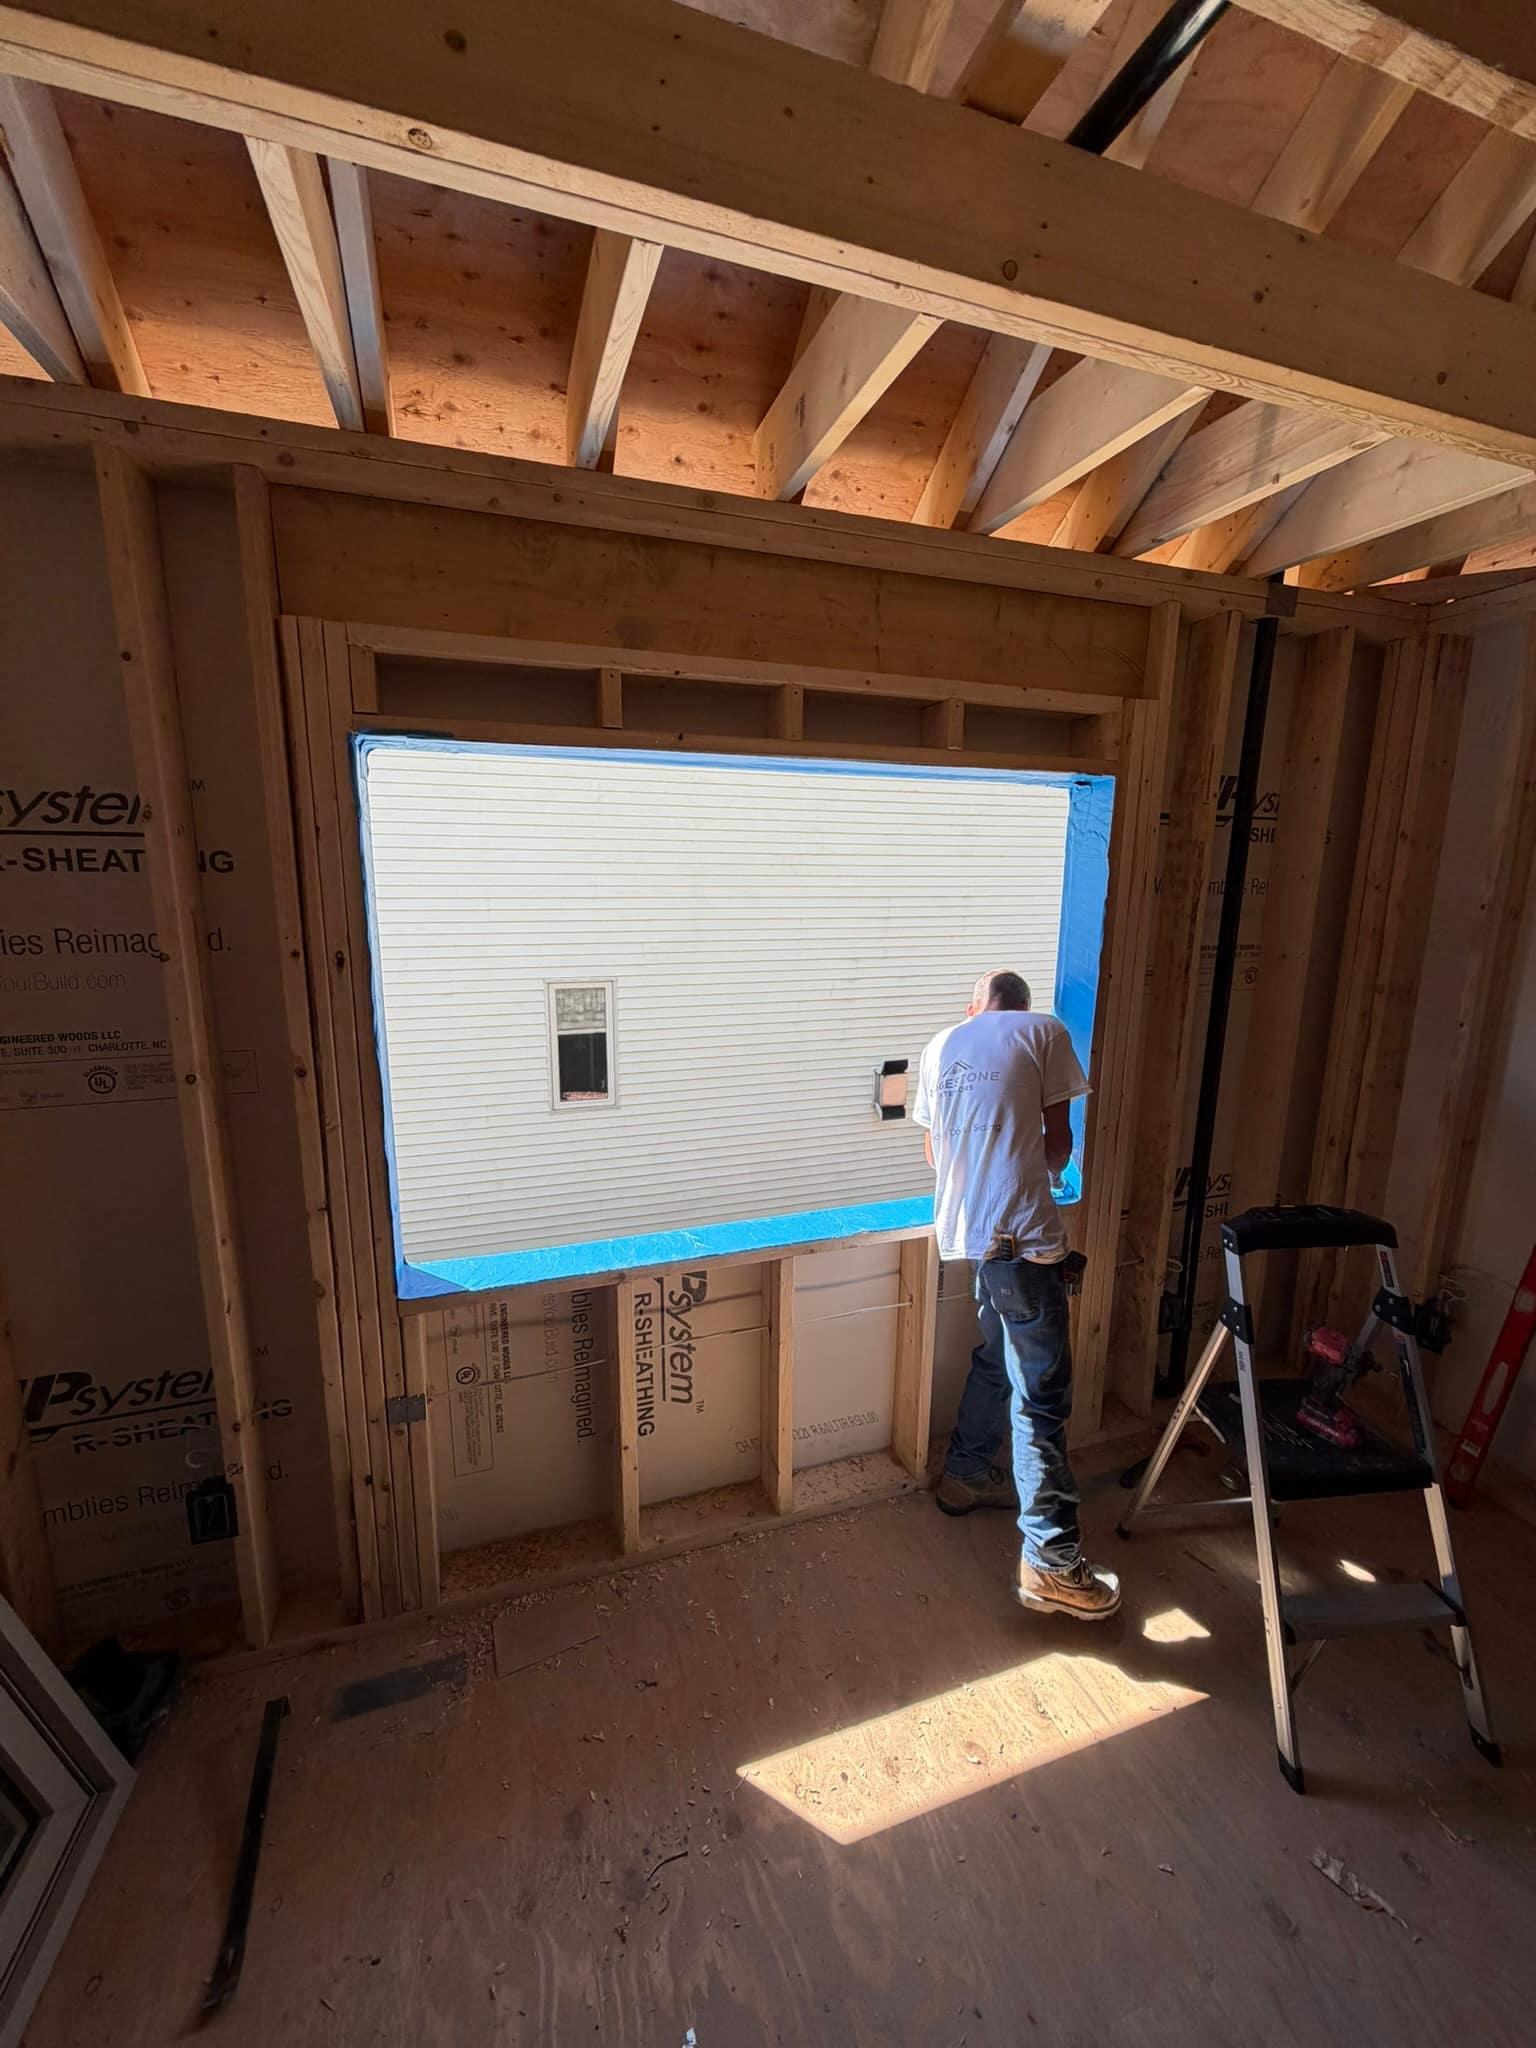
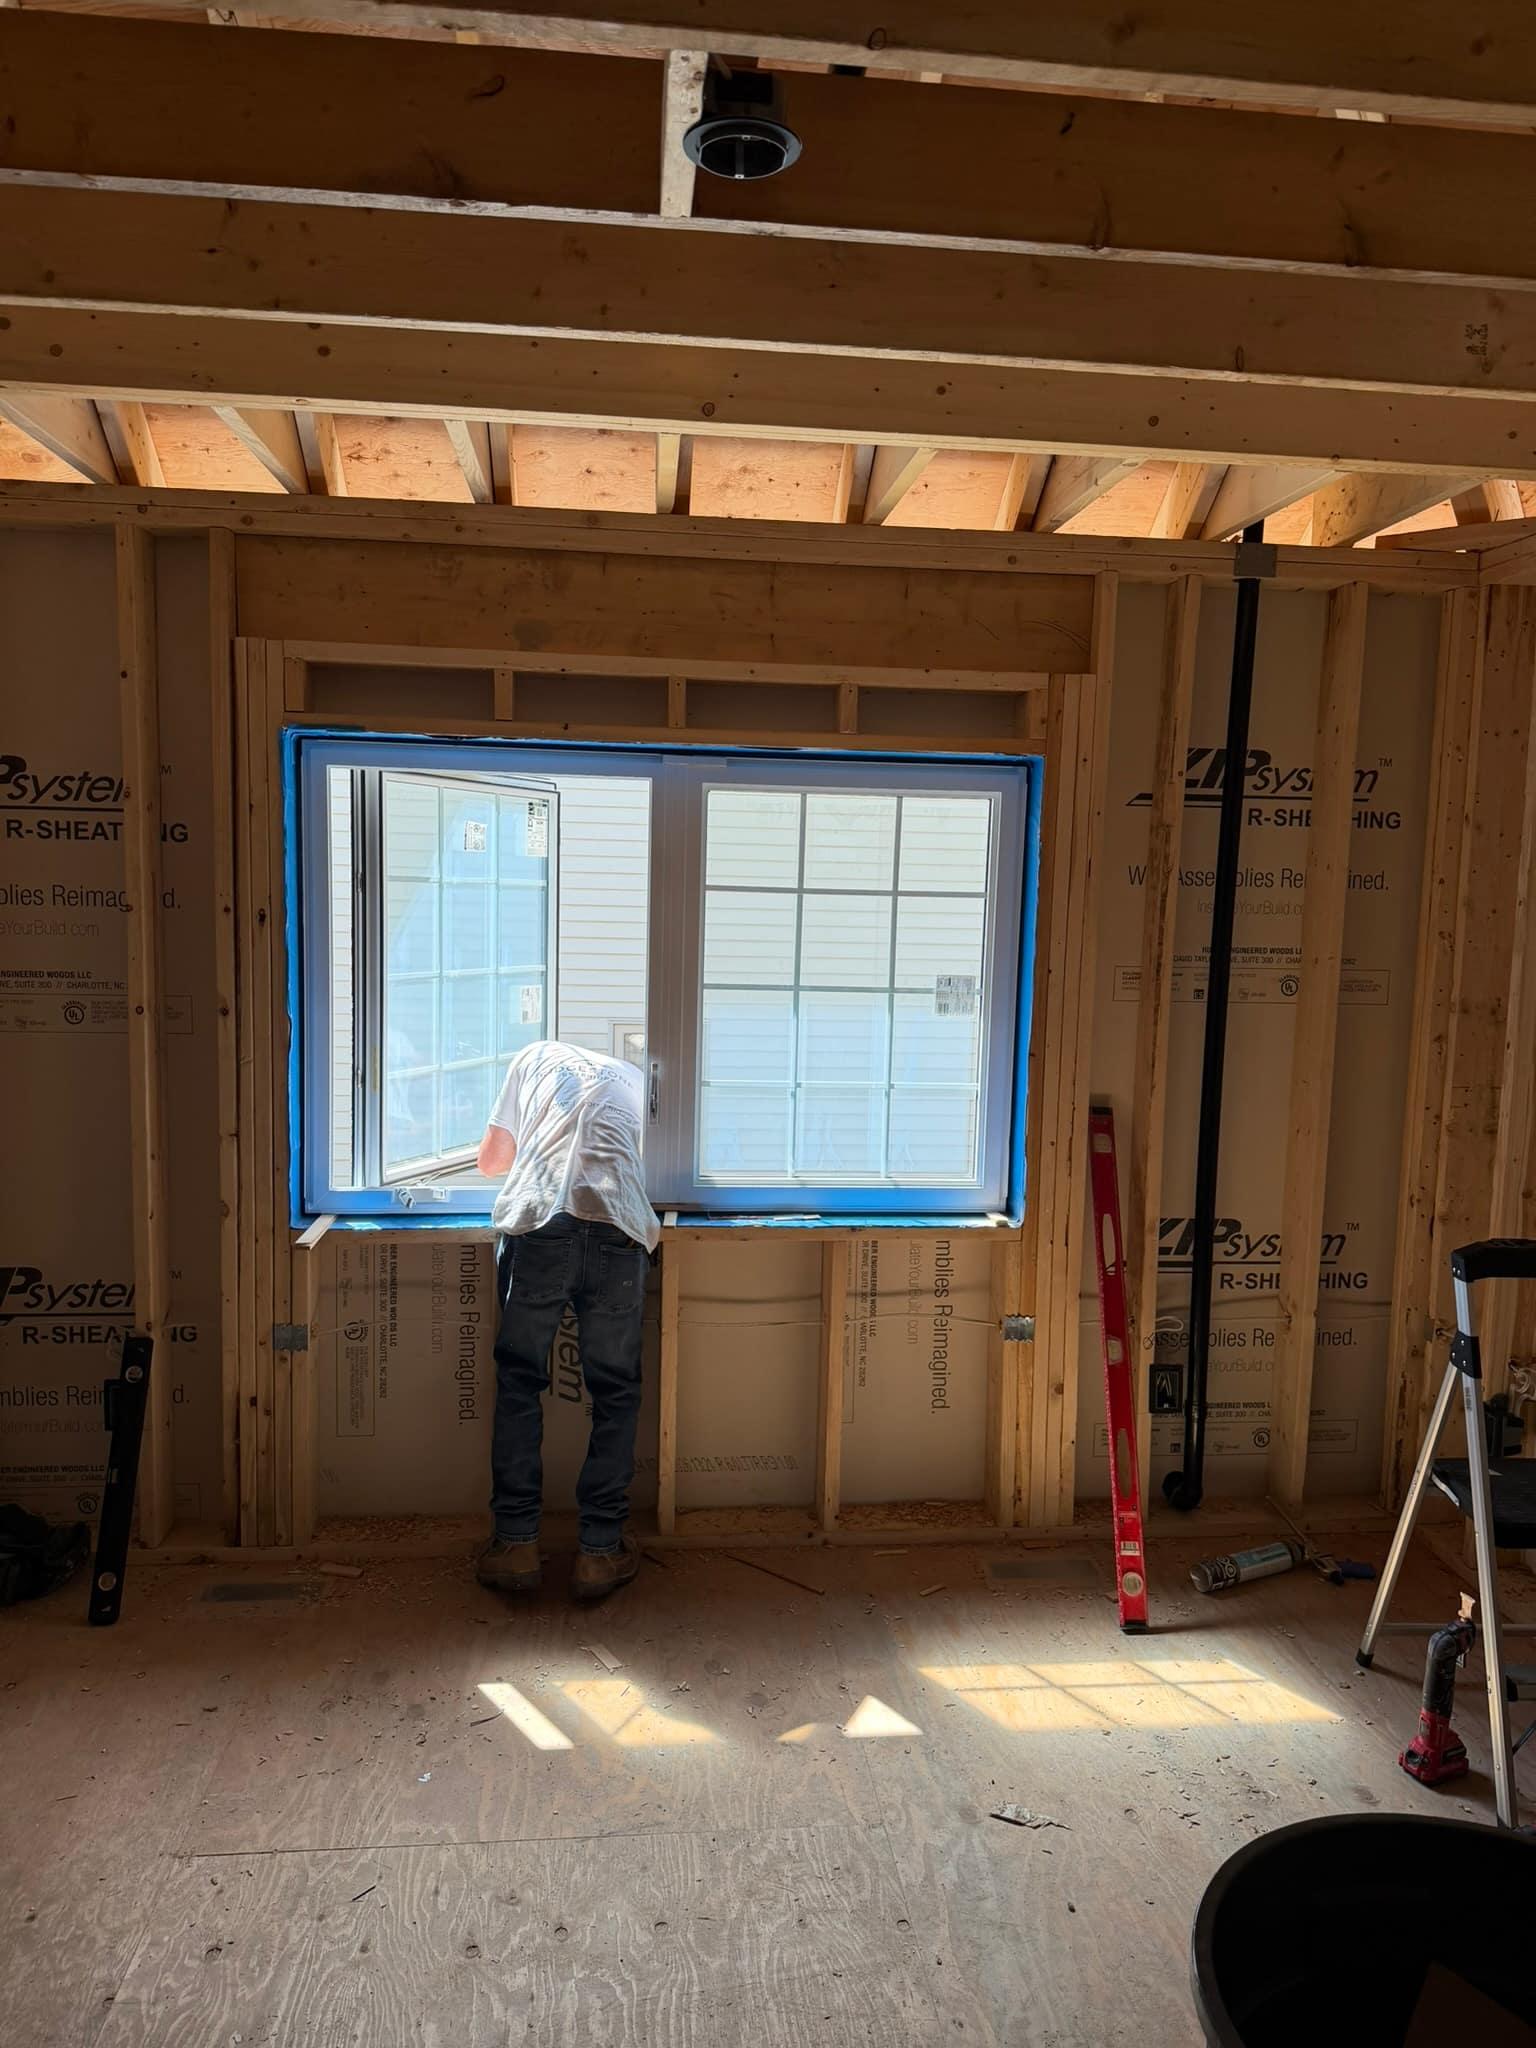
New construction, so no before. We flashed the opening to protect the framing in case any water ever gets in, which is something many companies skip.

Flashed opening from inside, ready for the window
Rough opening in the new dormer wall with the sill flashed

Step 2

Installing the window

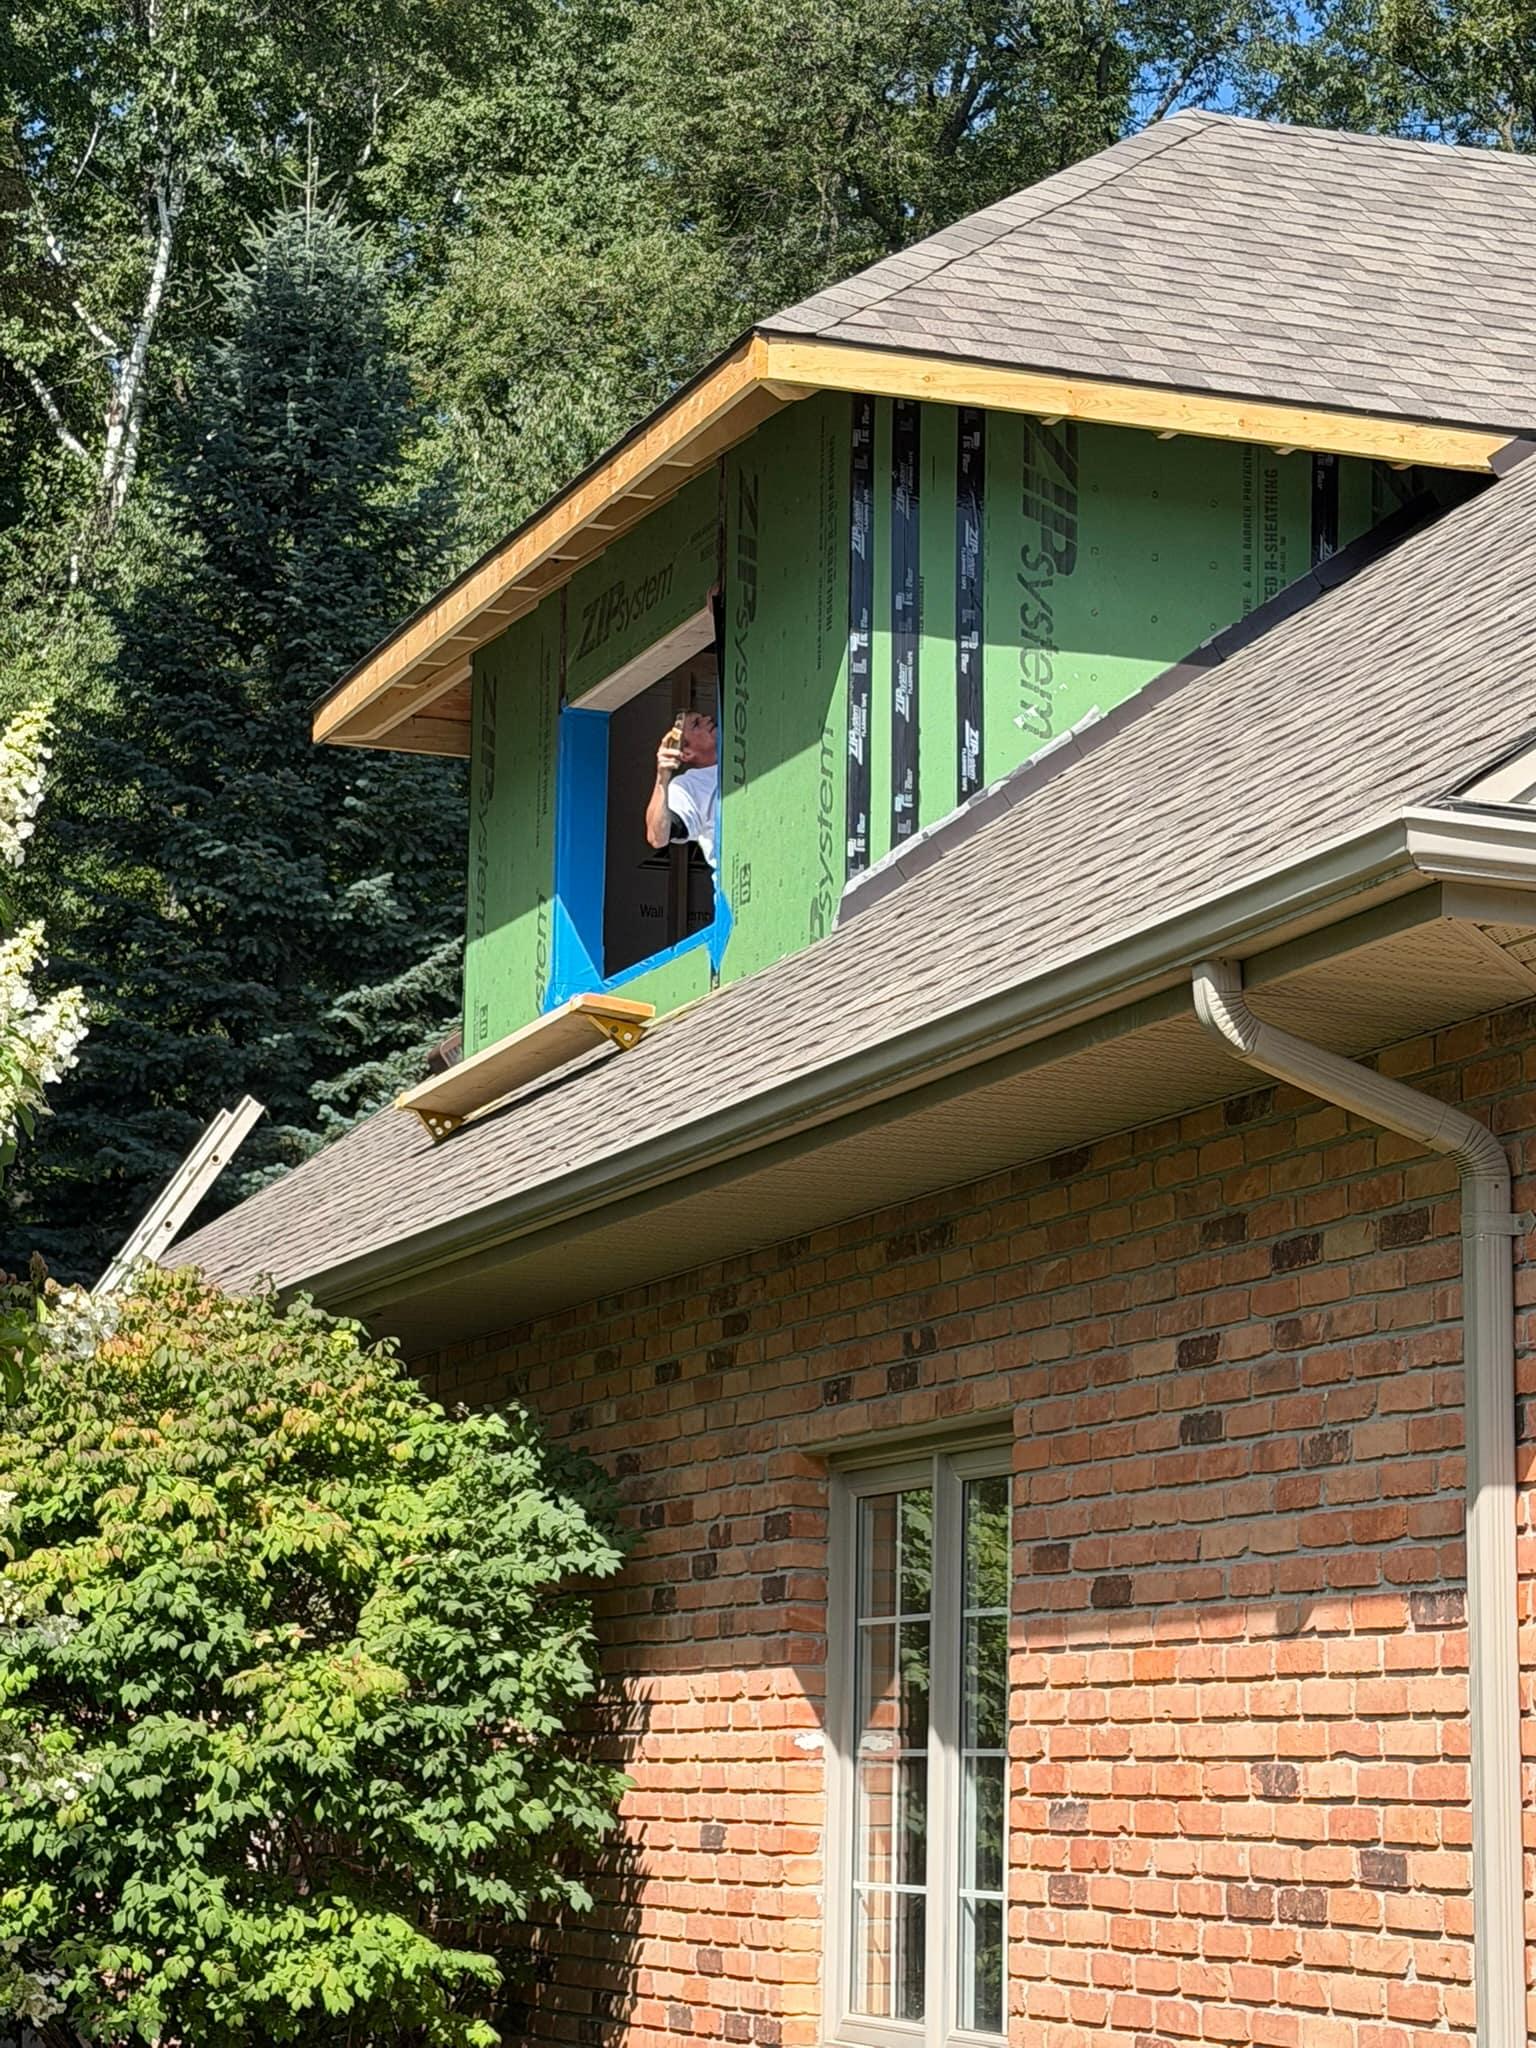
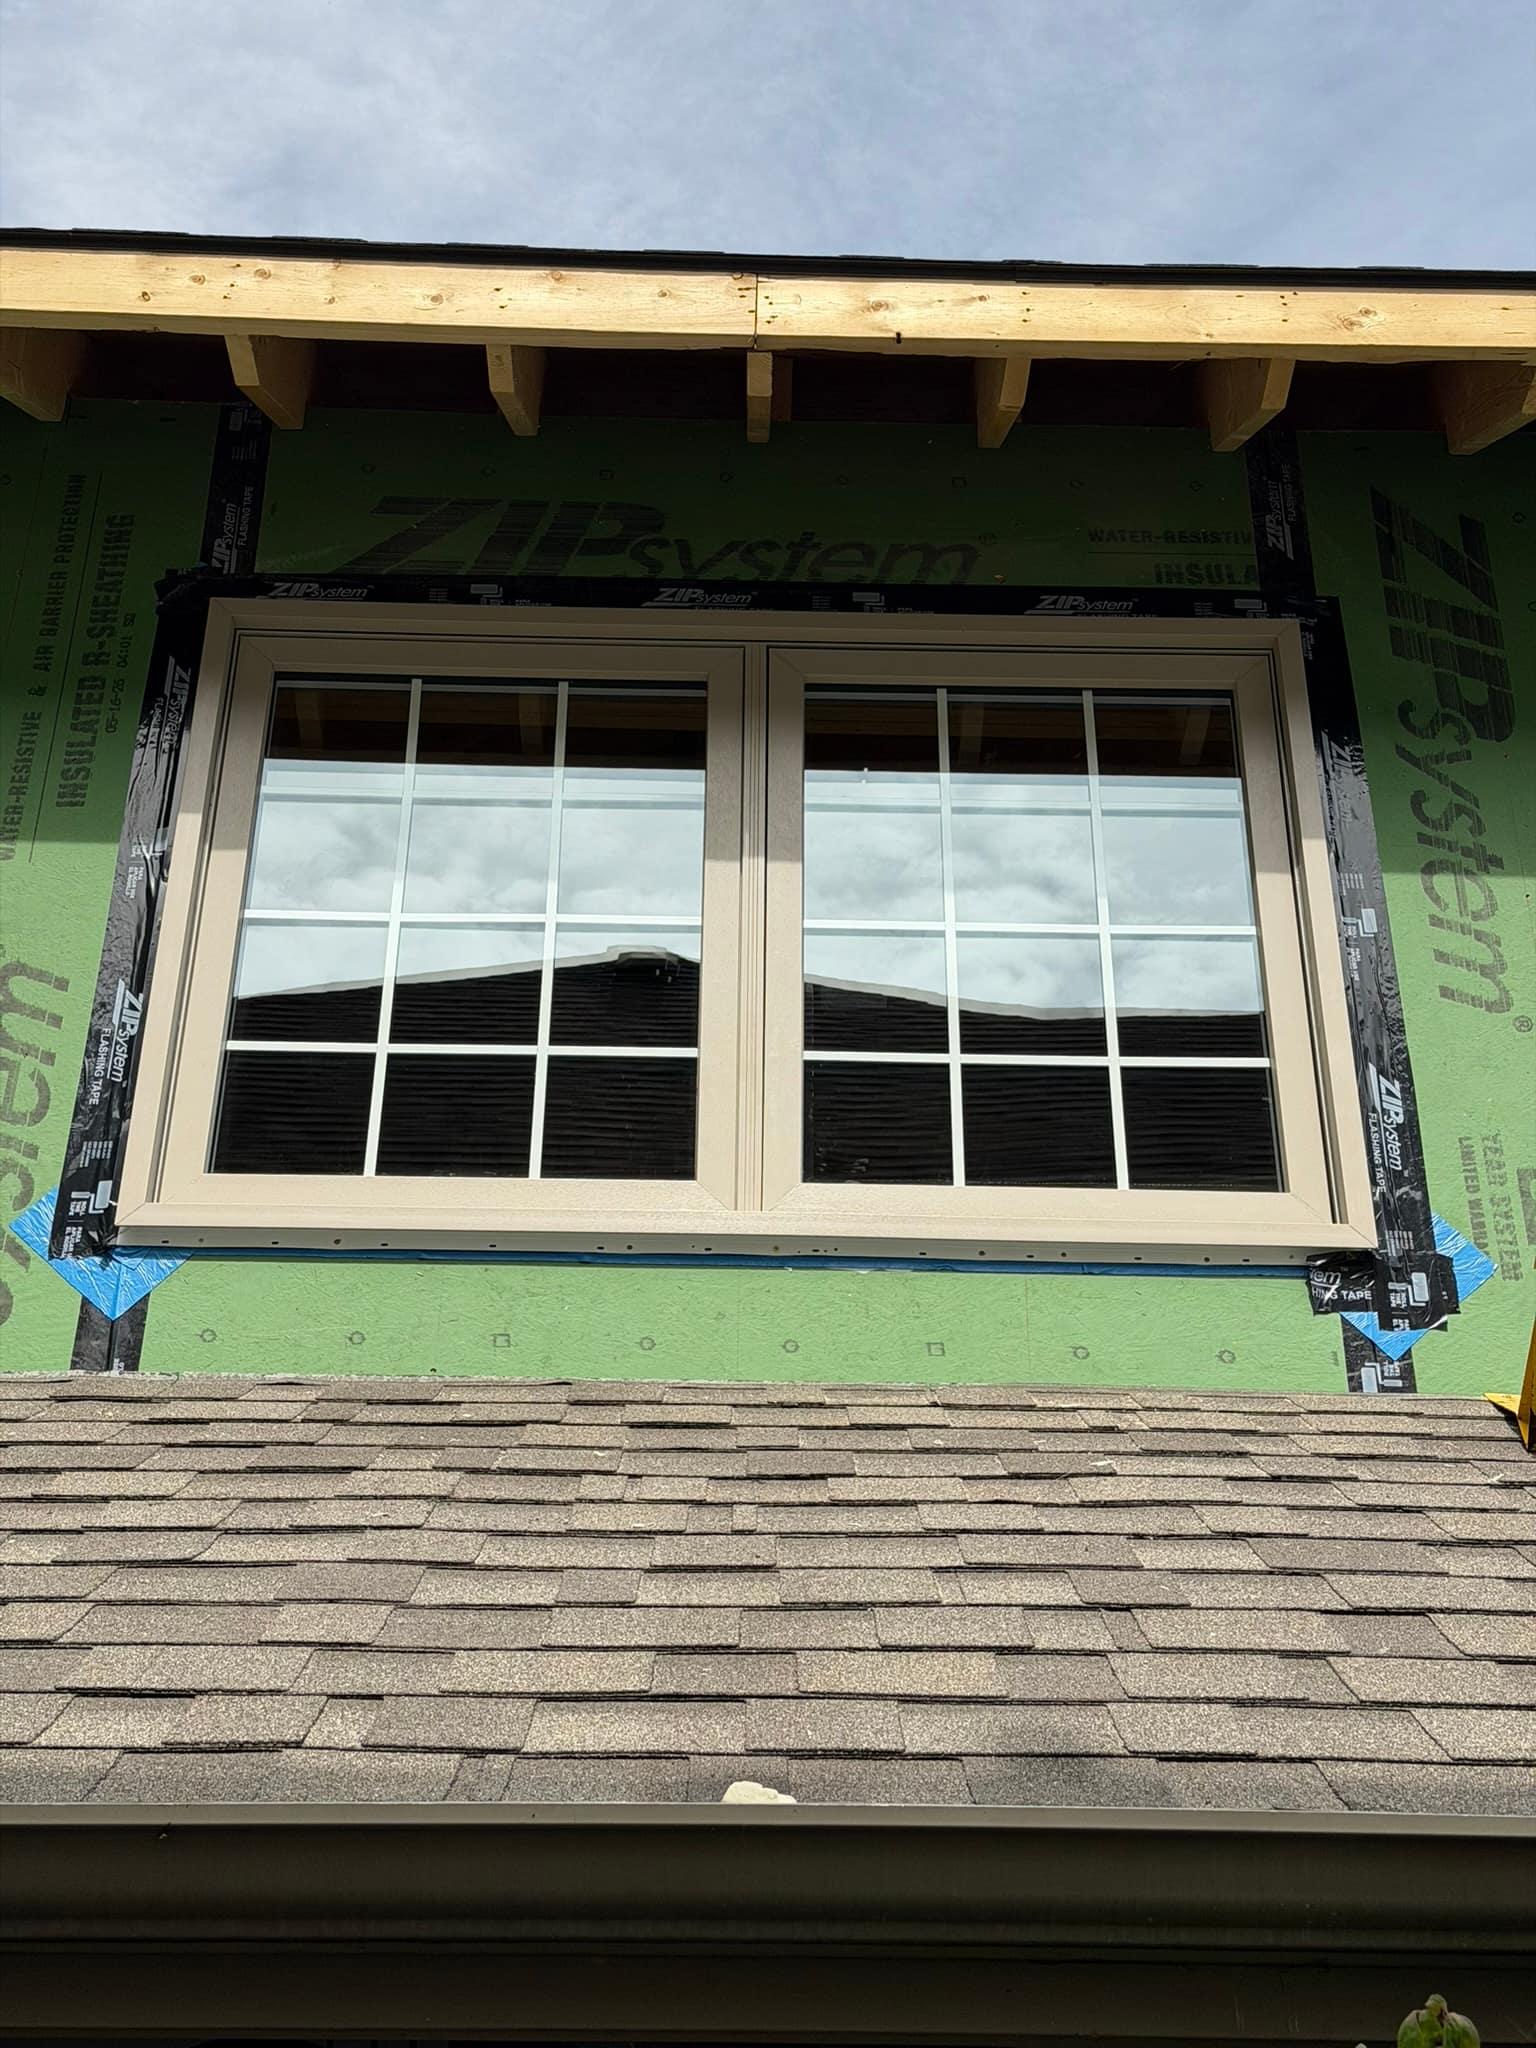
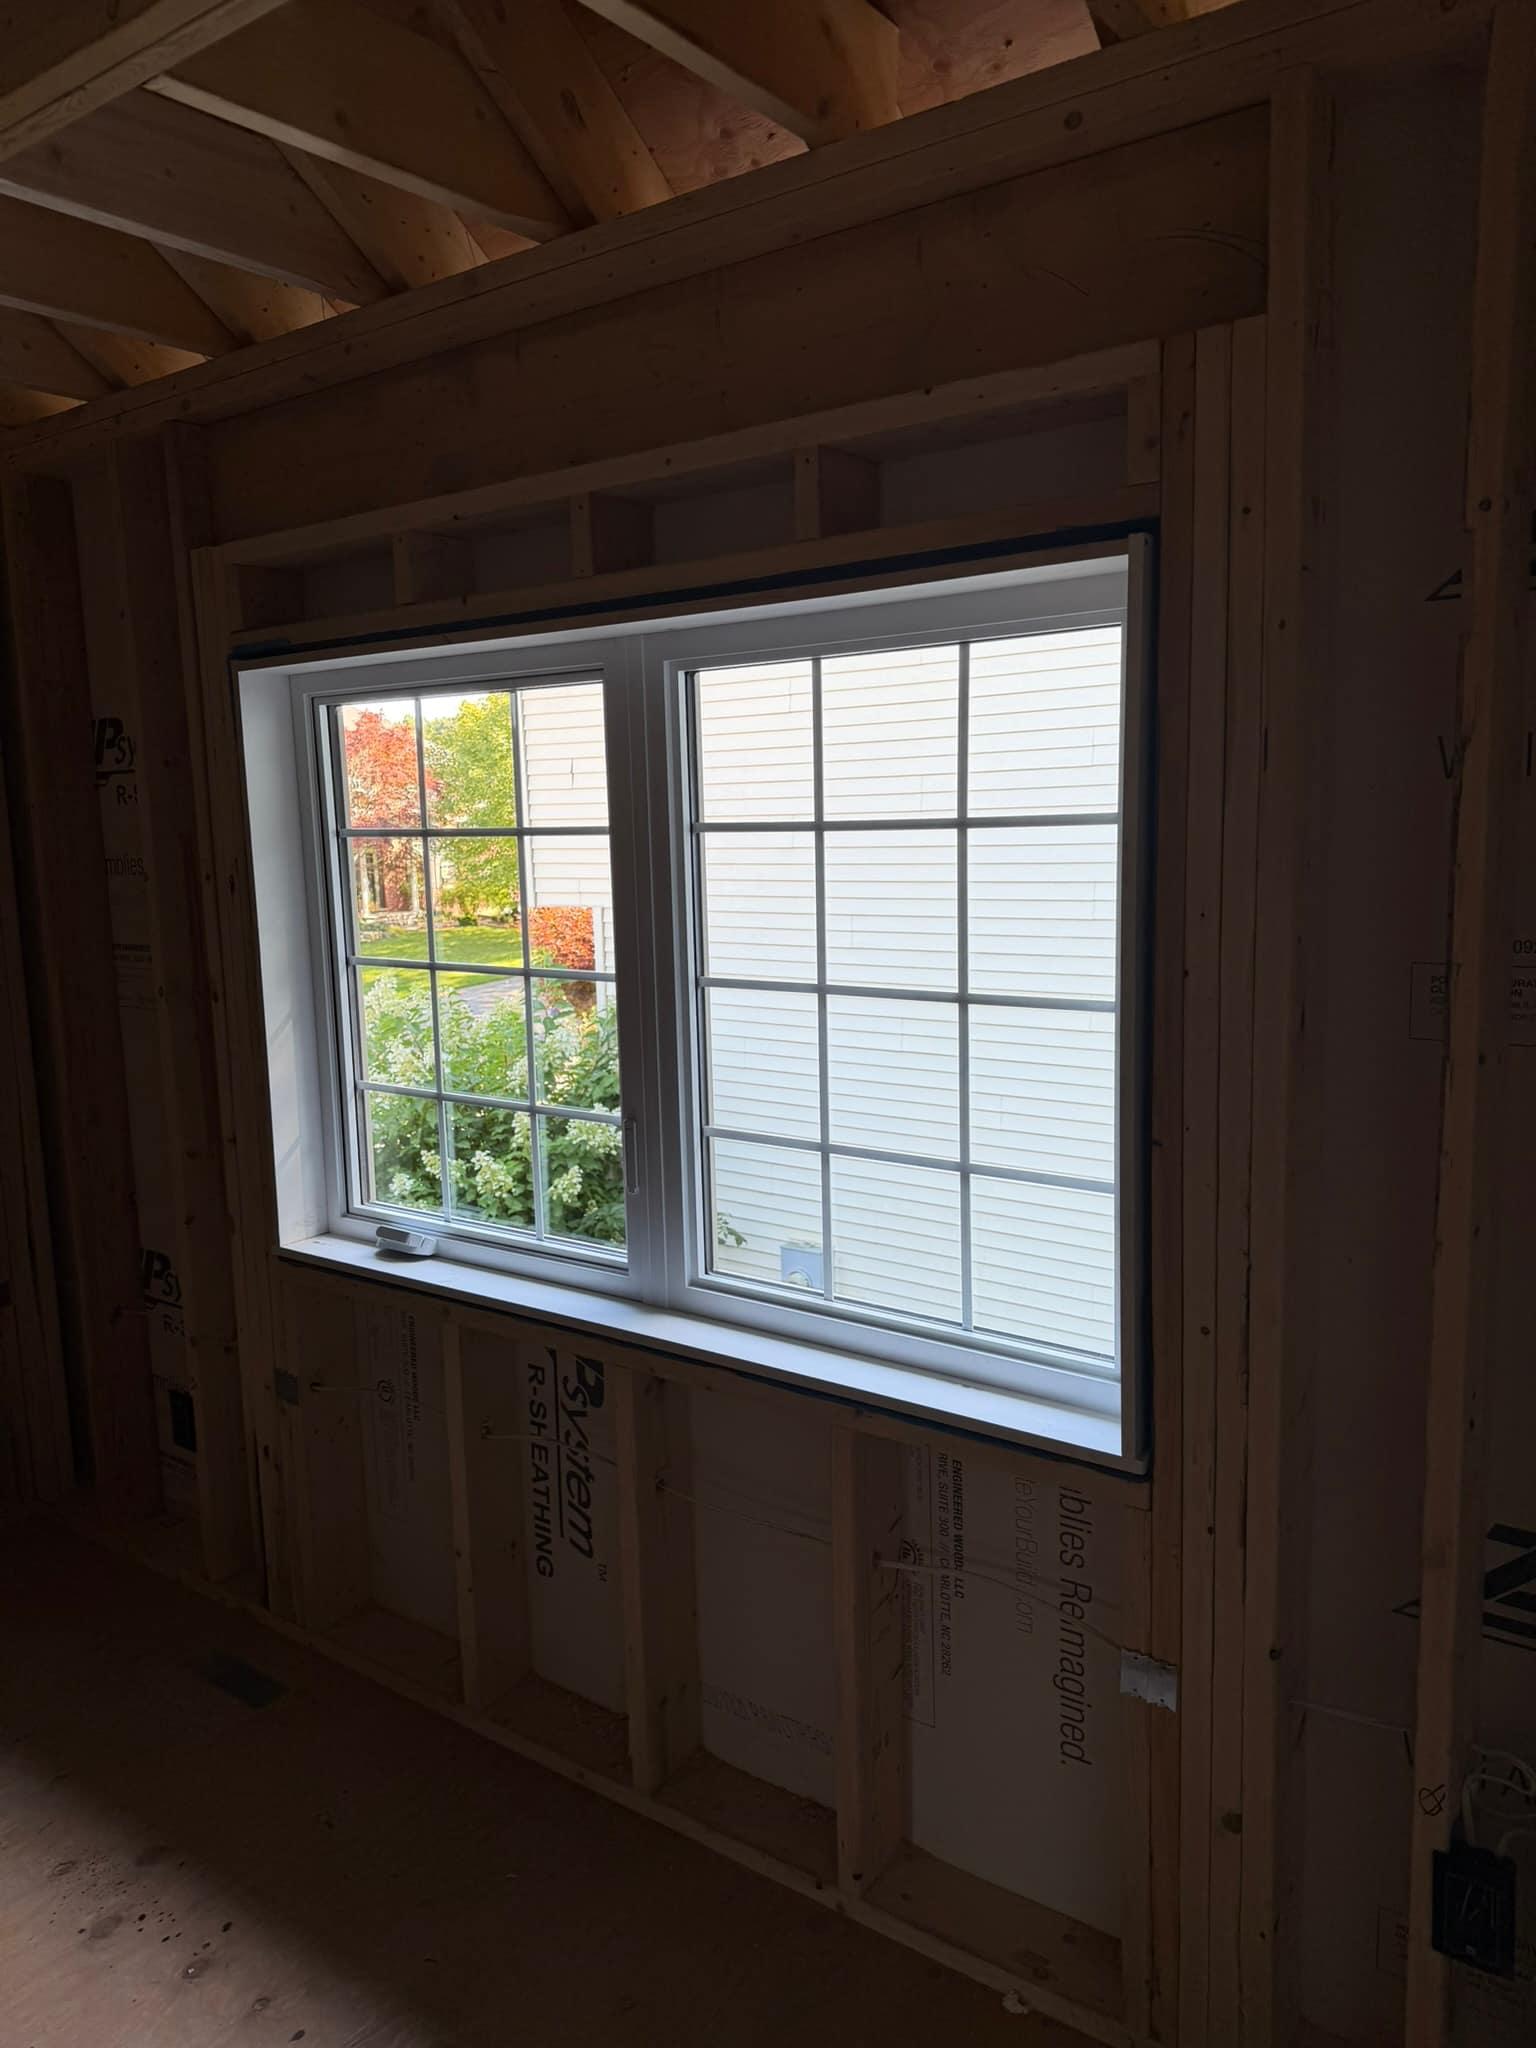
Set the window, then taped the nail fin to the sheathing so the whole opening sheds water.

Window set into the opening from inside
Nail fin taped to the sheathing around the installed window

Step 3

Window installed

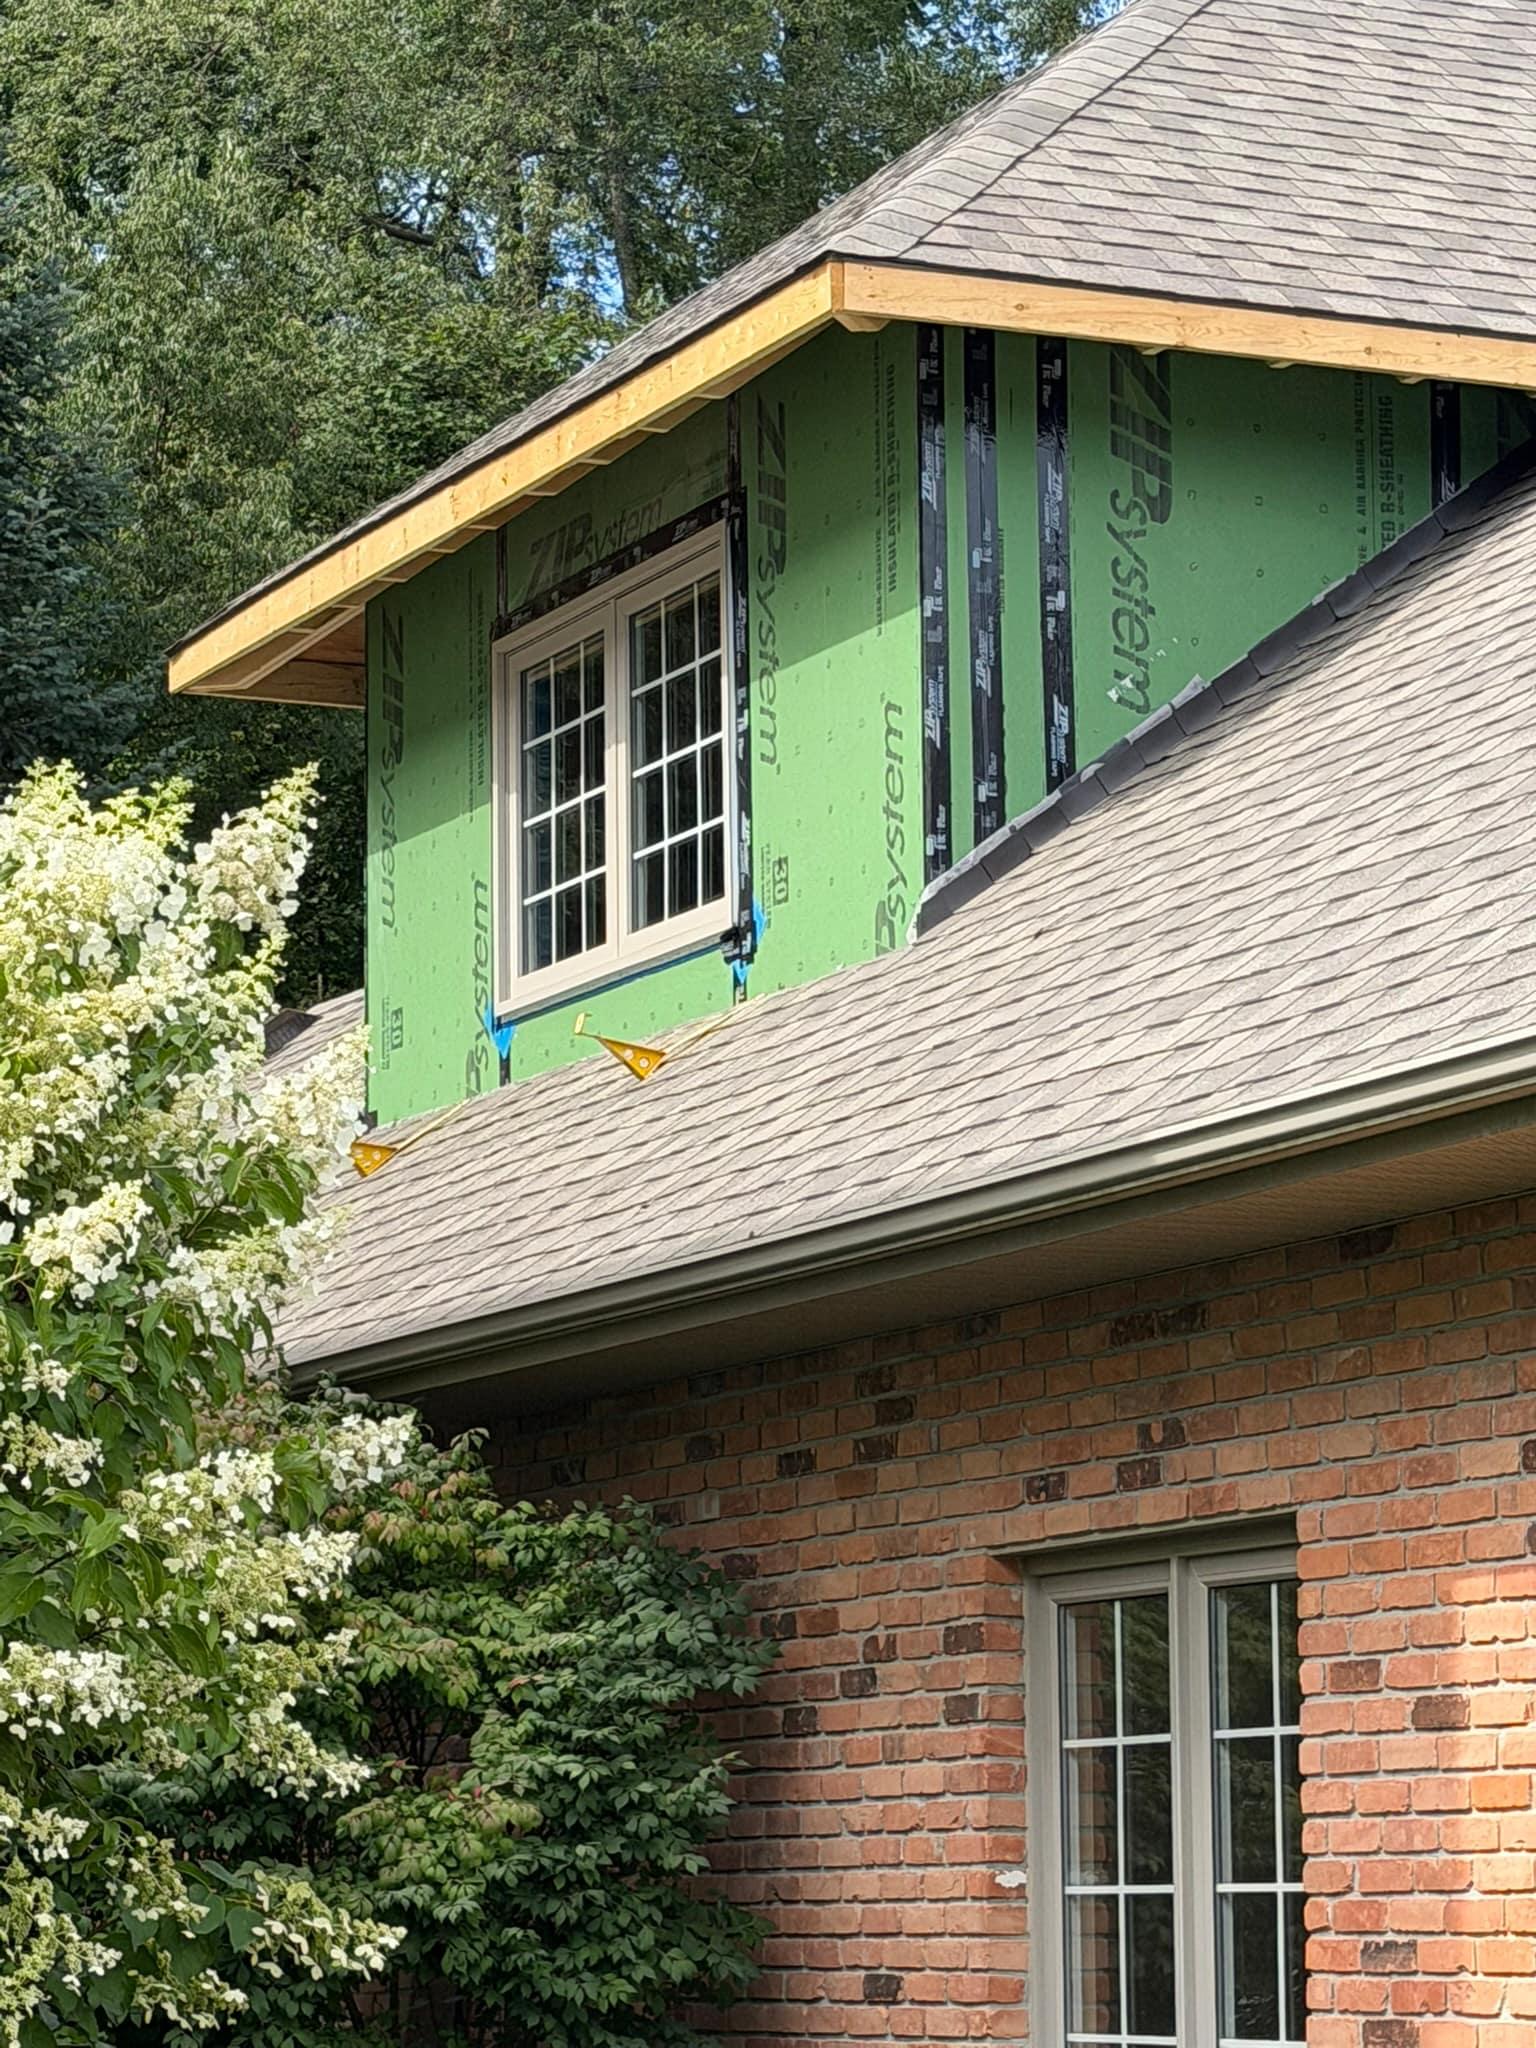
Colour and grille pattern matched as closely as possible to the existing windows on the house.

New dormer window from outside, matched to the existing windows on the house
Installed dormer window viewed from inside before the bedroom walls are finished

Single rear door turned into a 6' wide sliding patio door

Step 1

Before

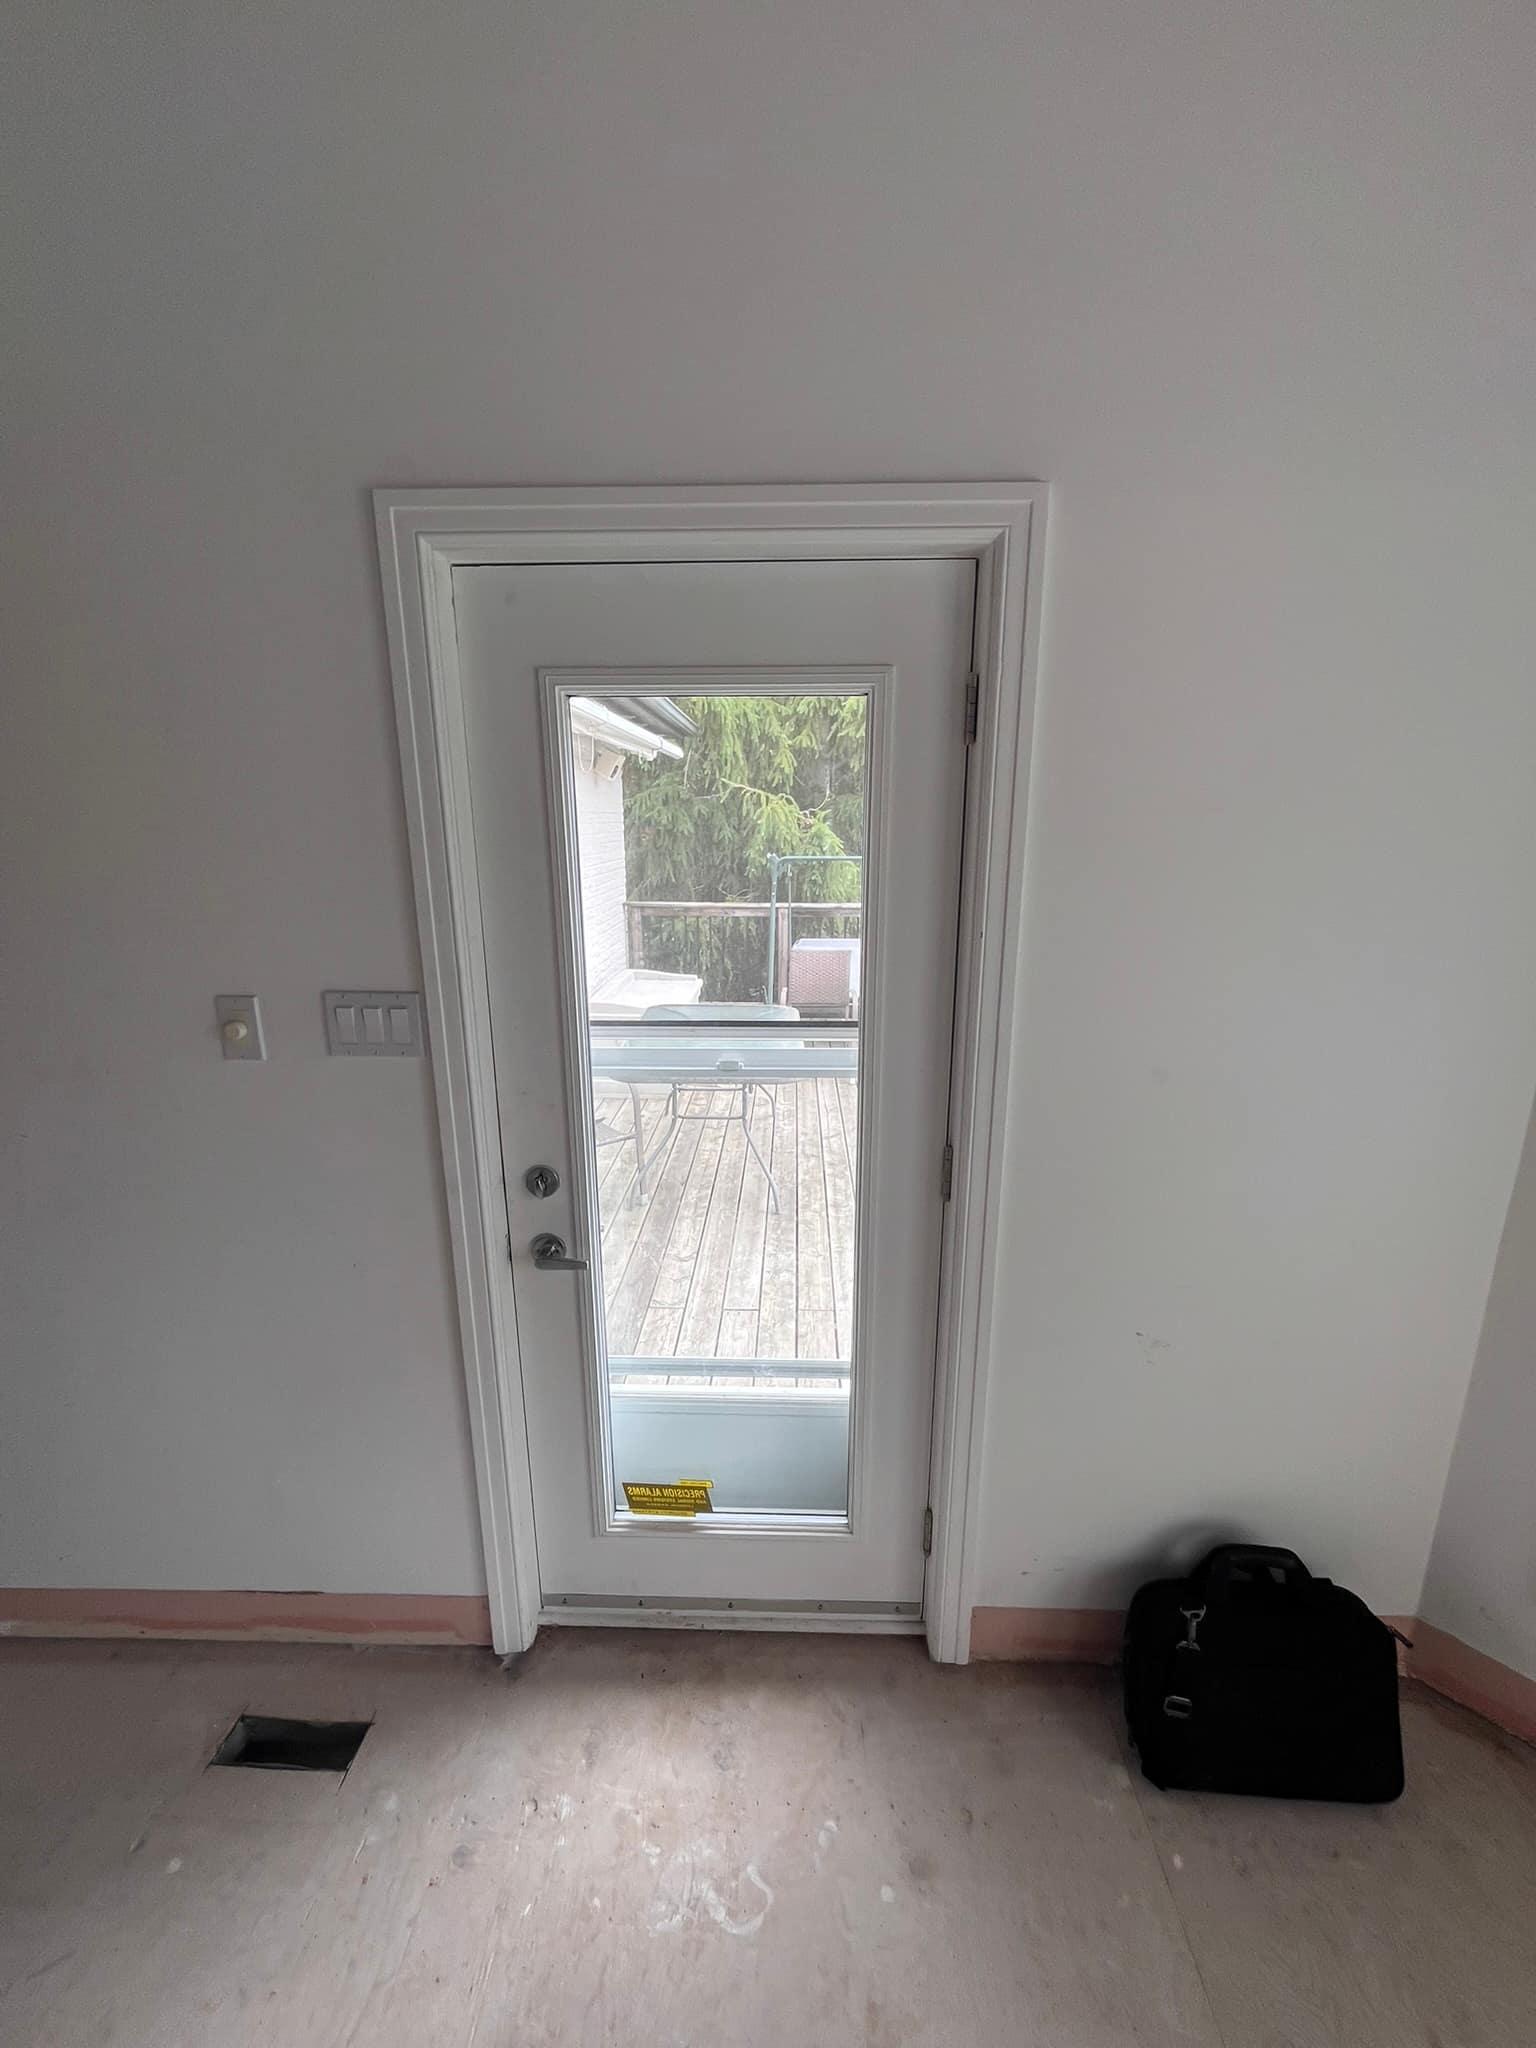
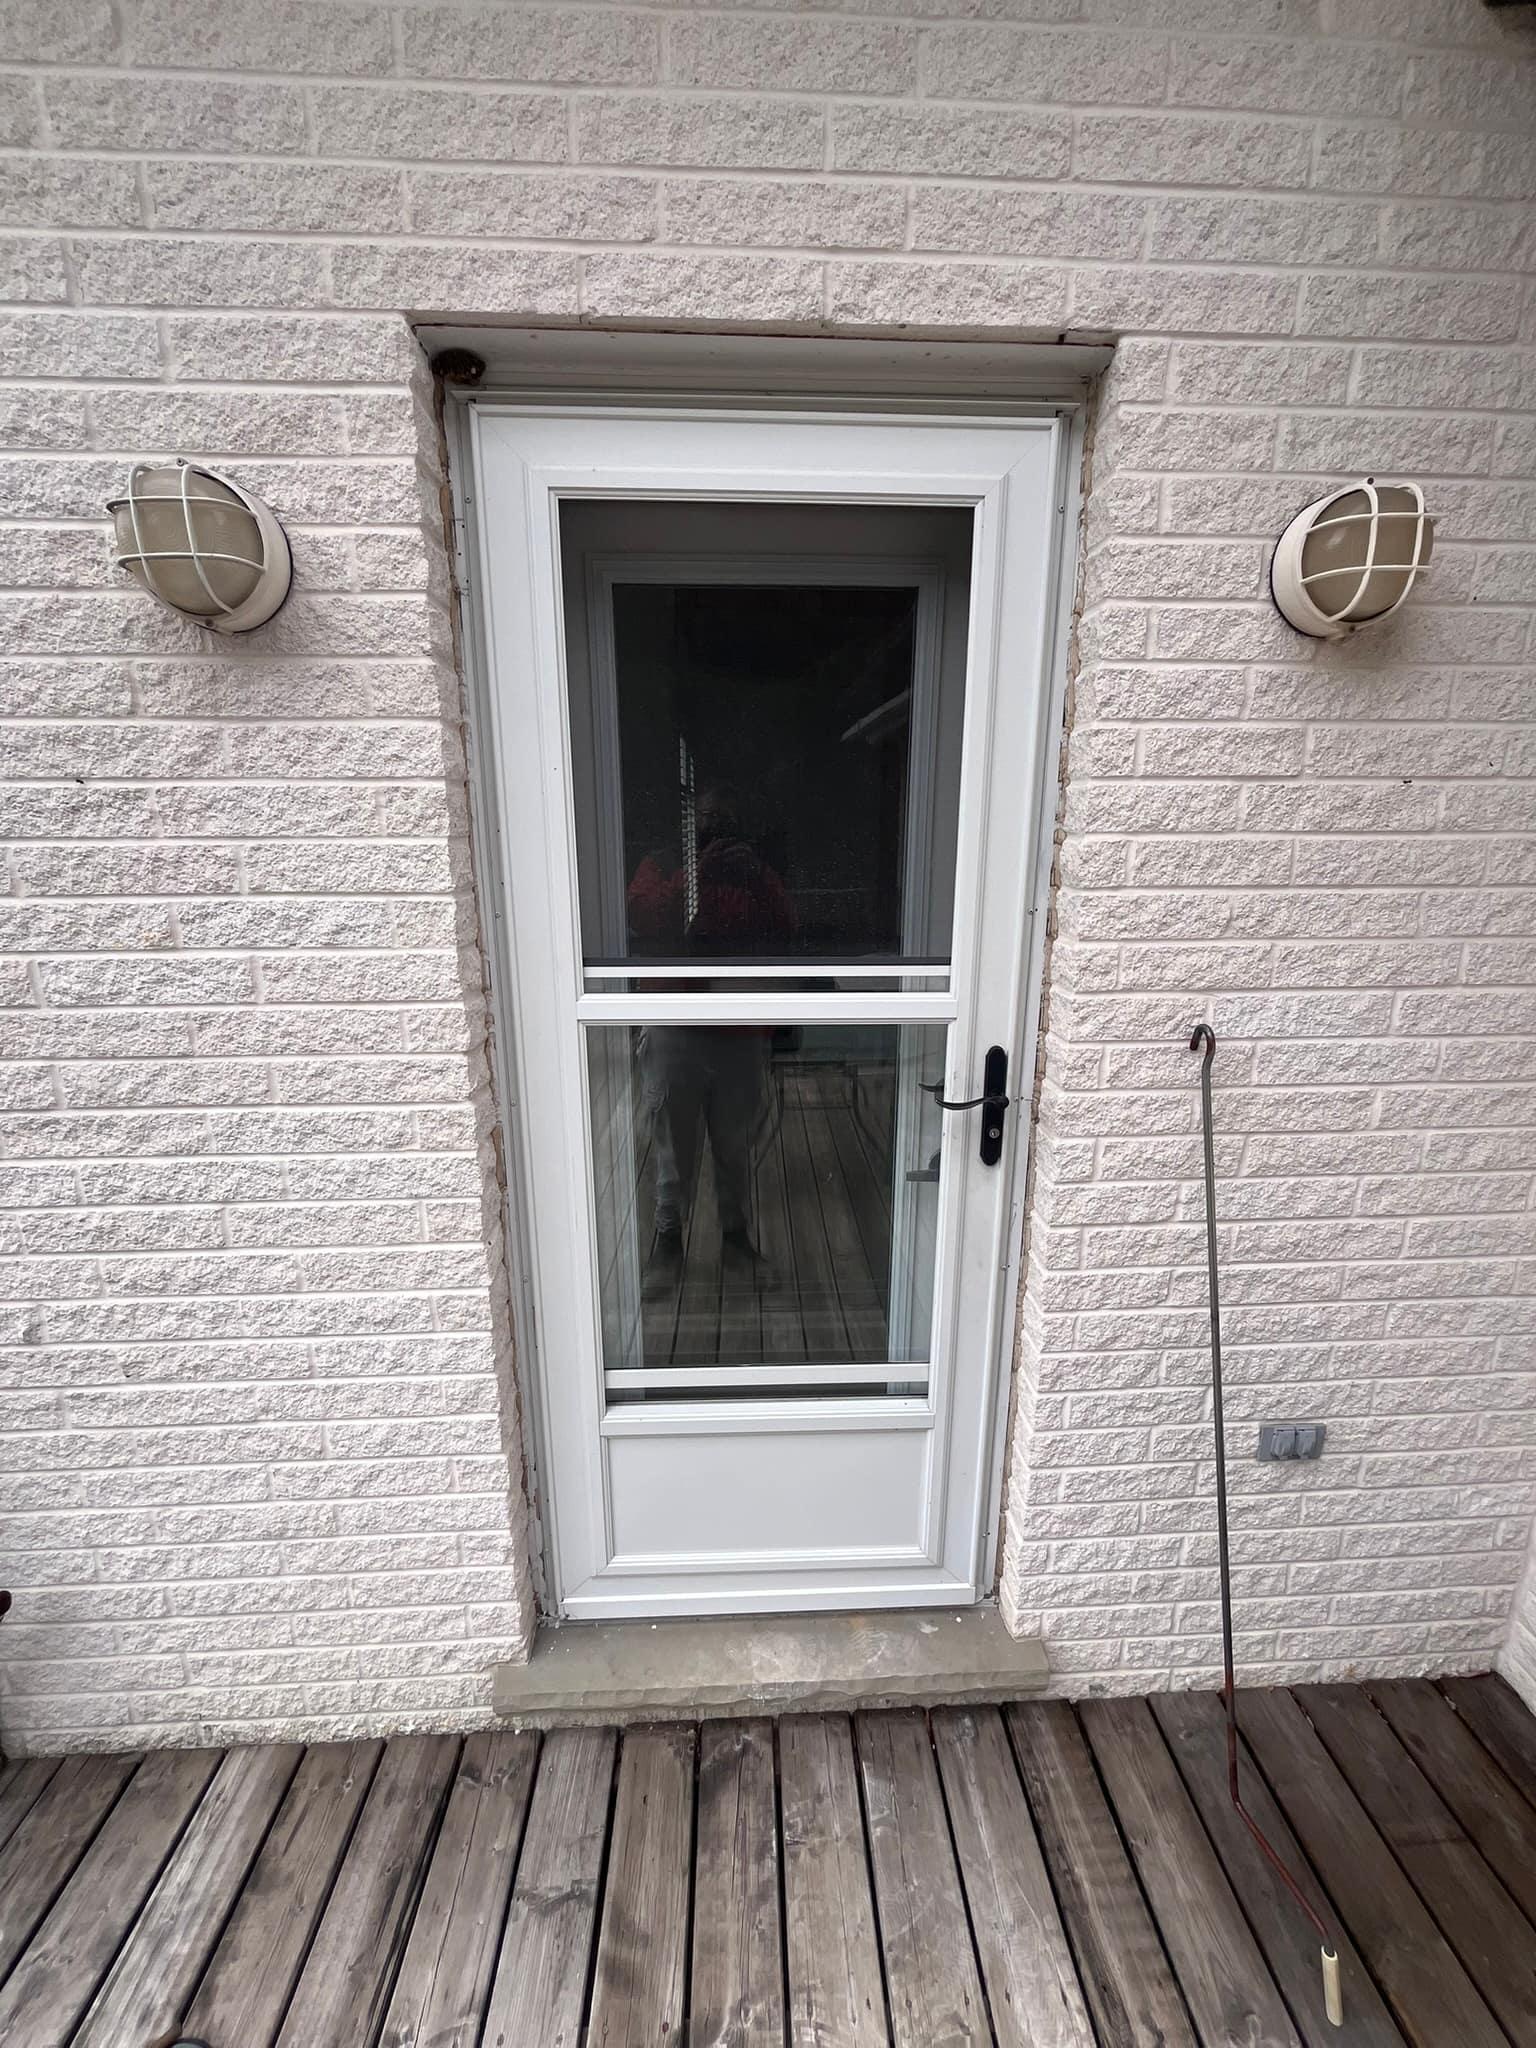
A standard single door out to the deck, with a storm door over it.

Original single back door from inside
Original single back door and storm door from outside

Step 2

Prepping the opening

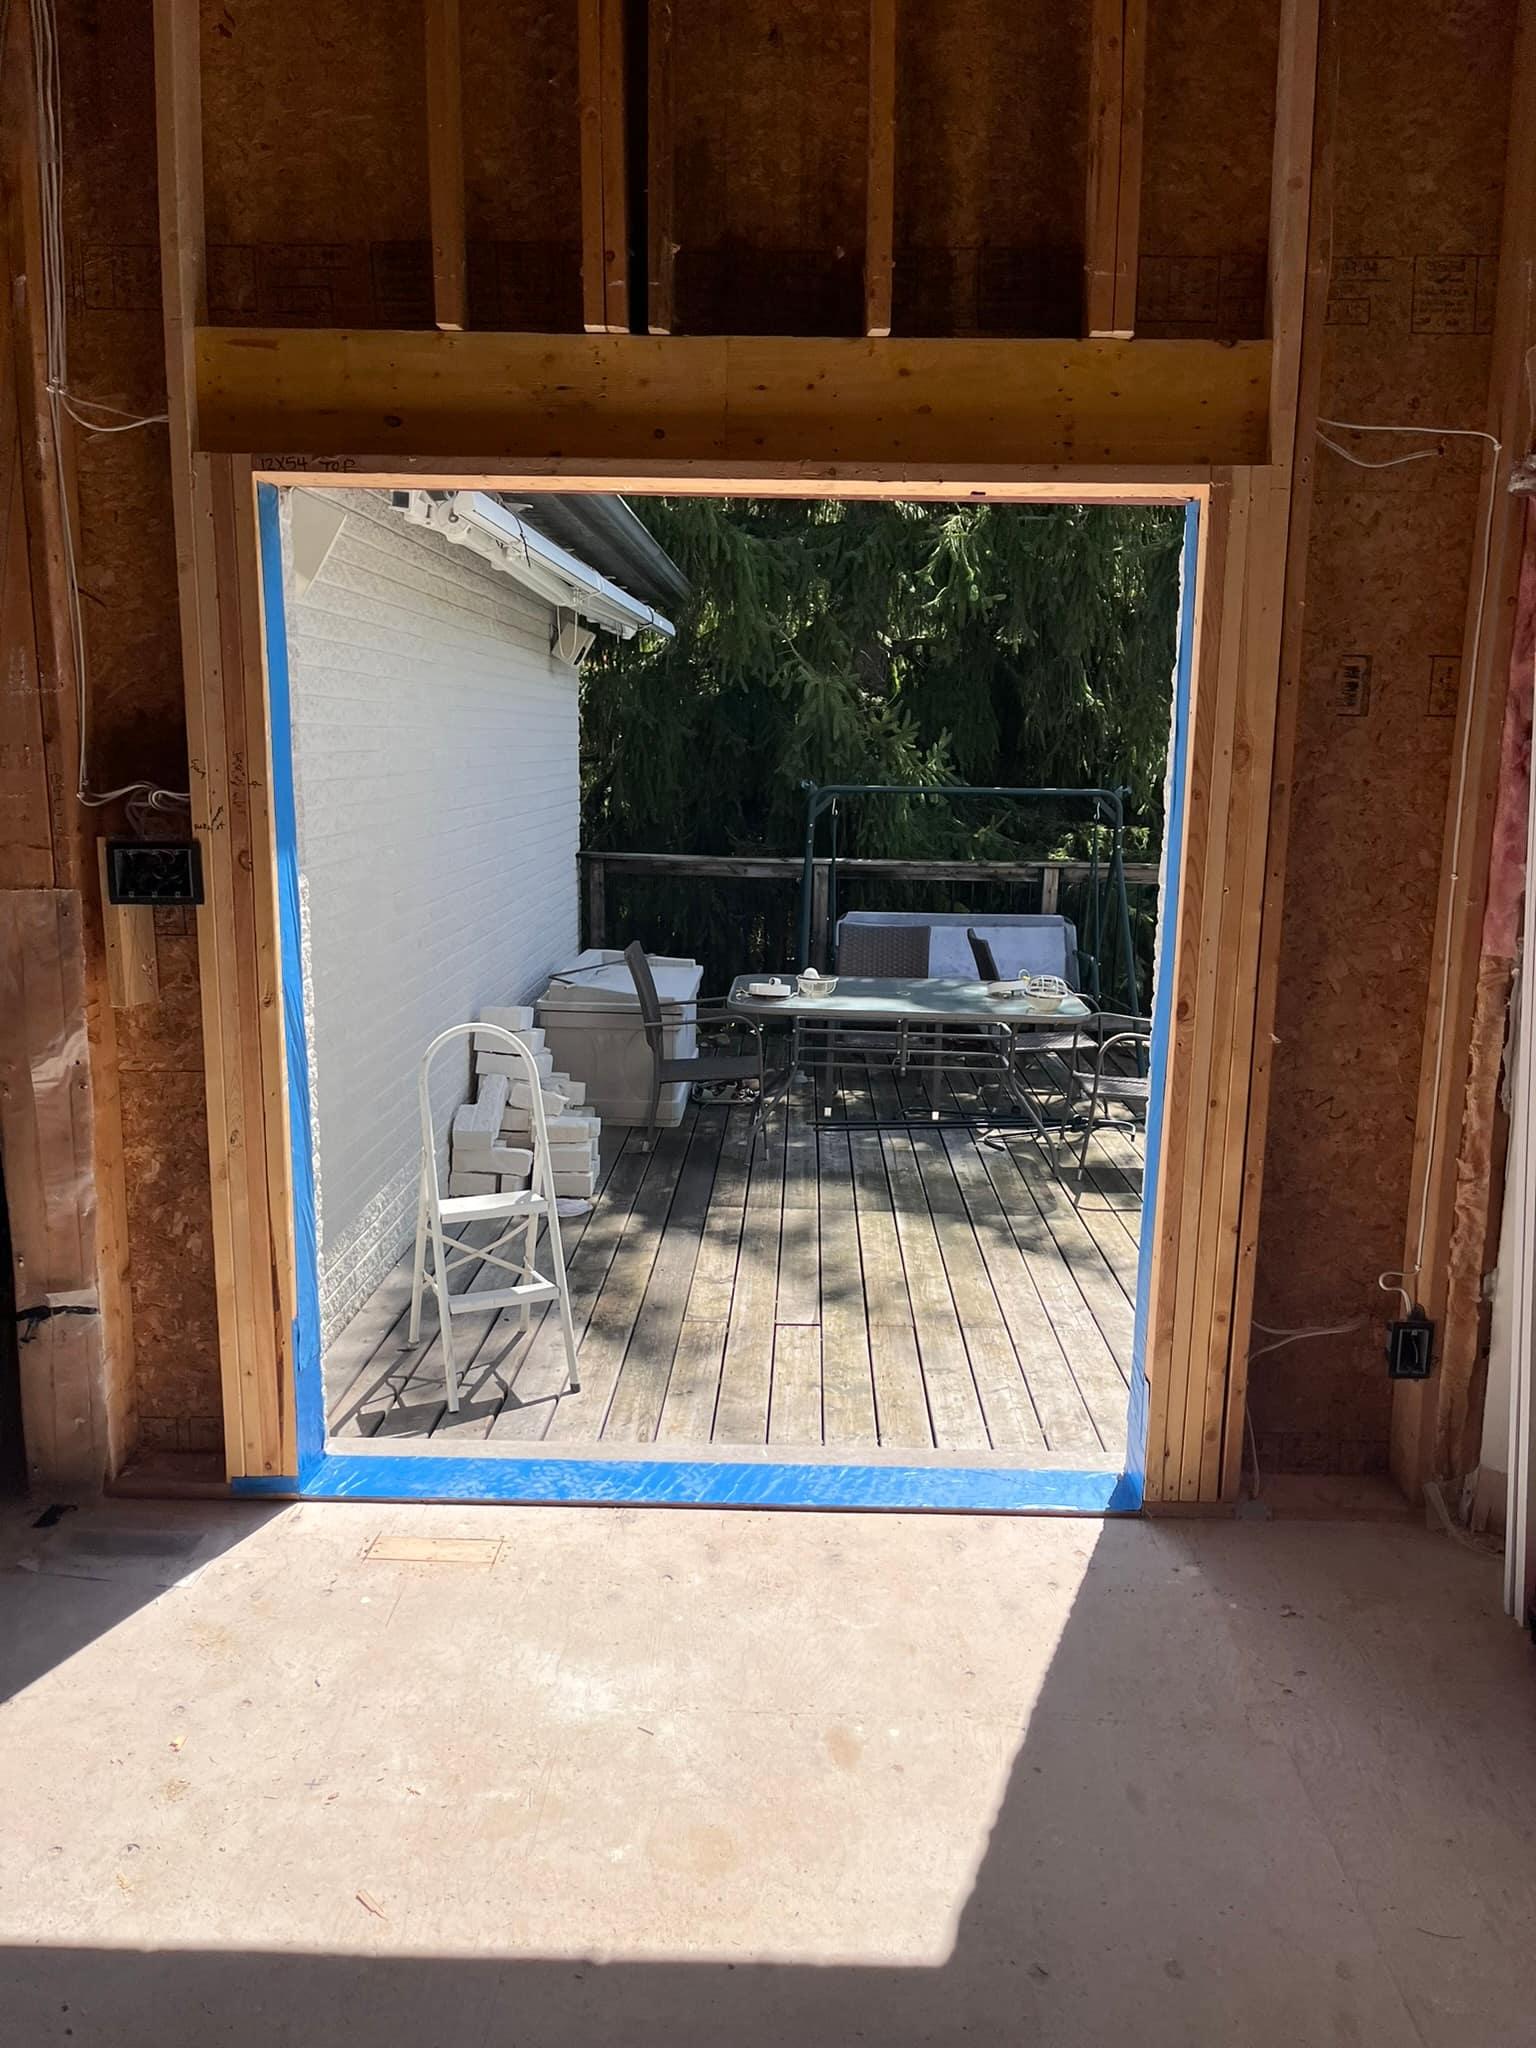
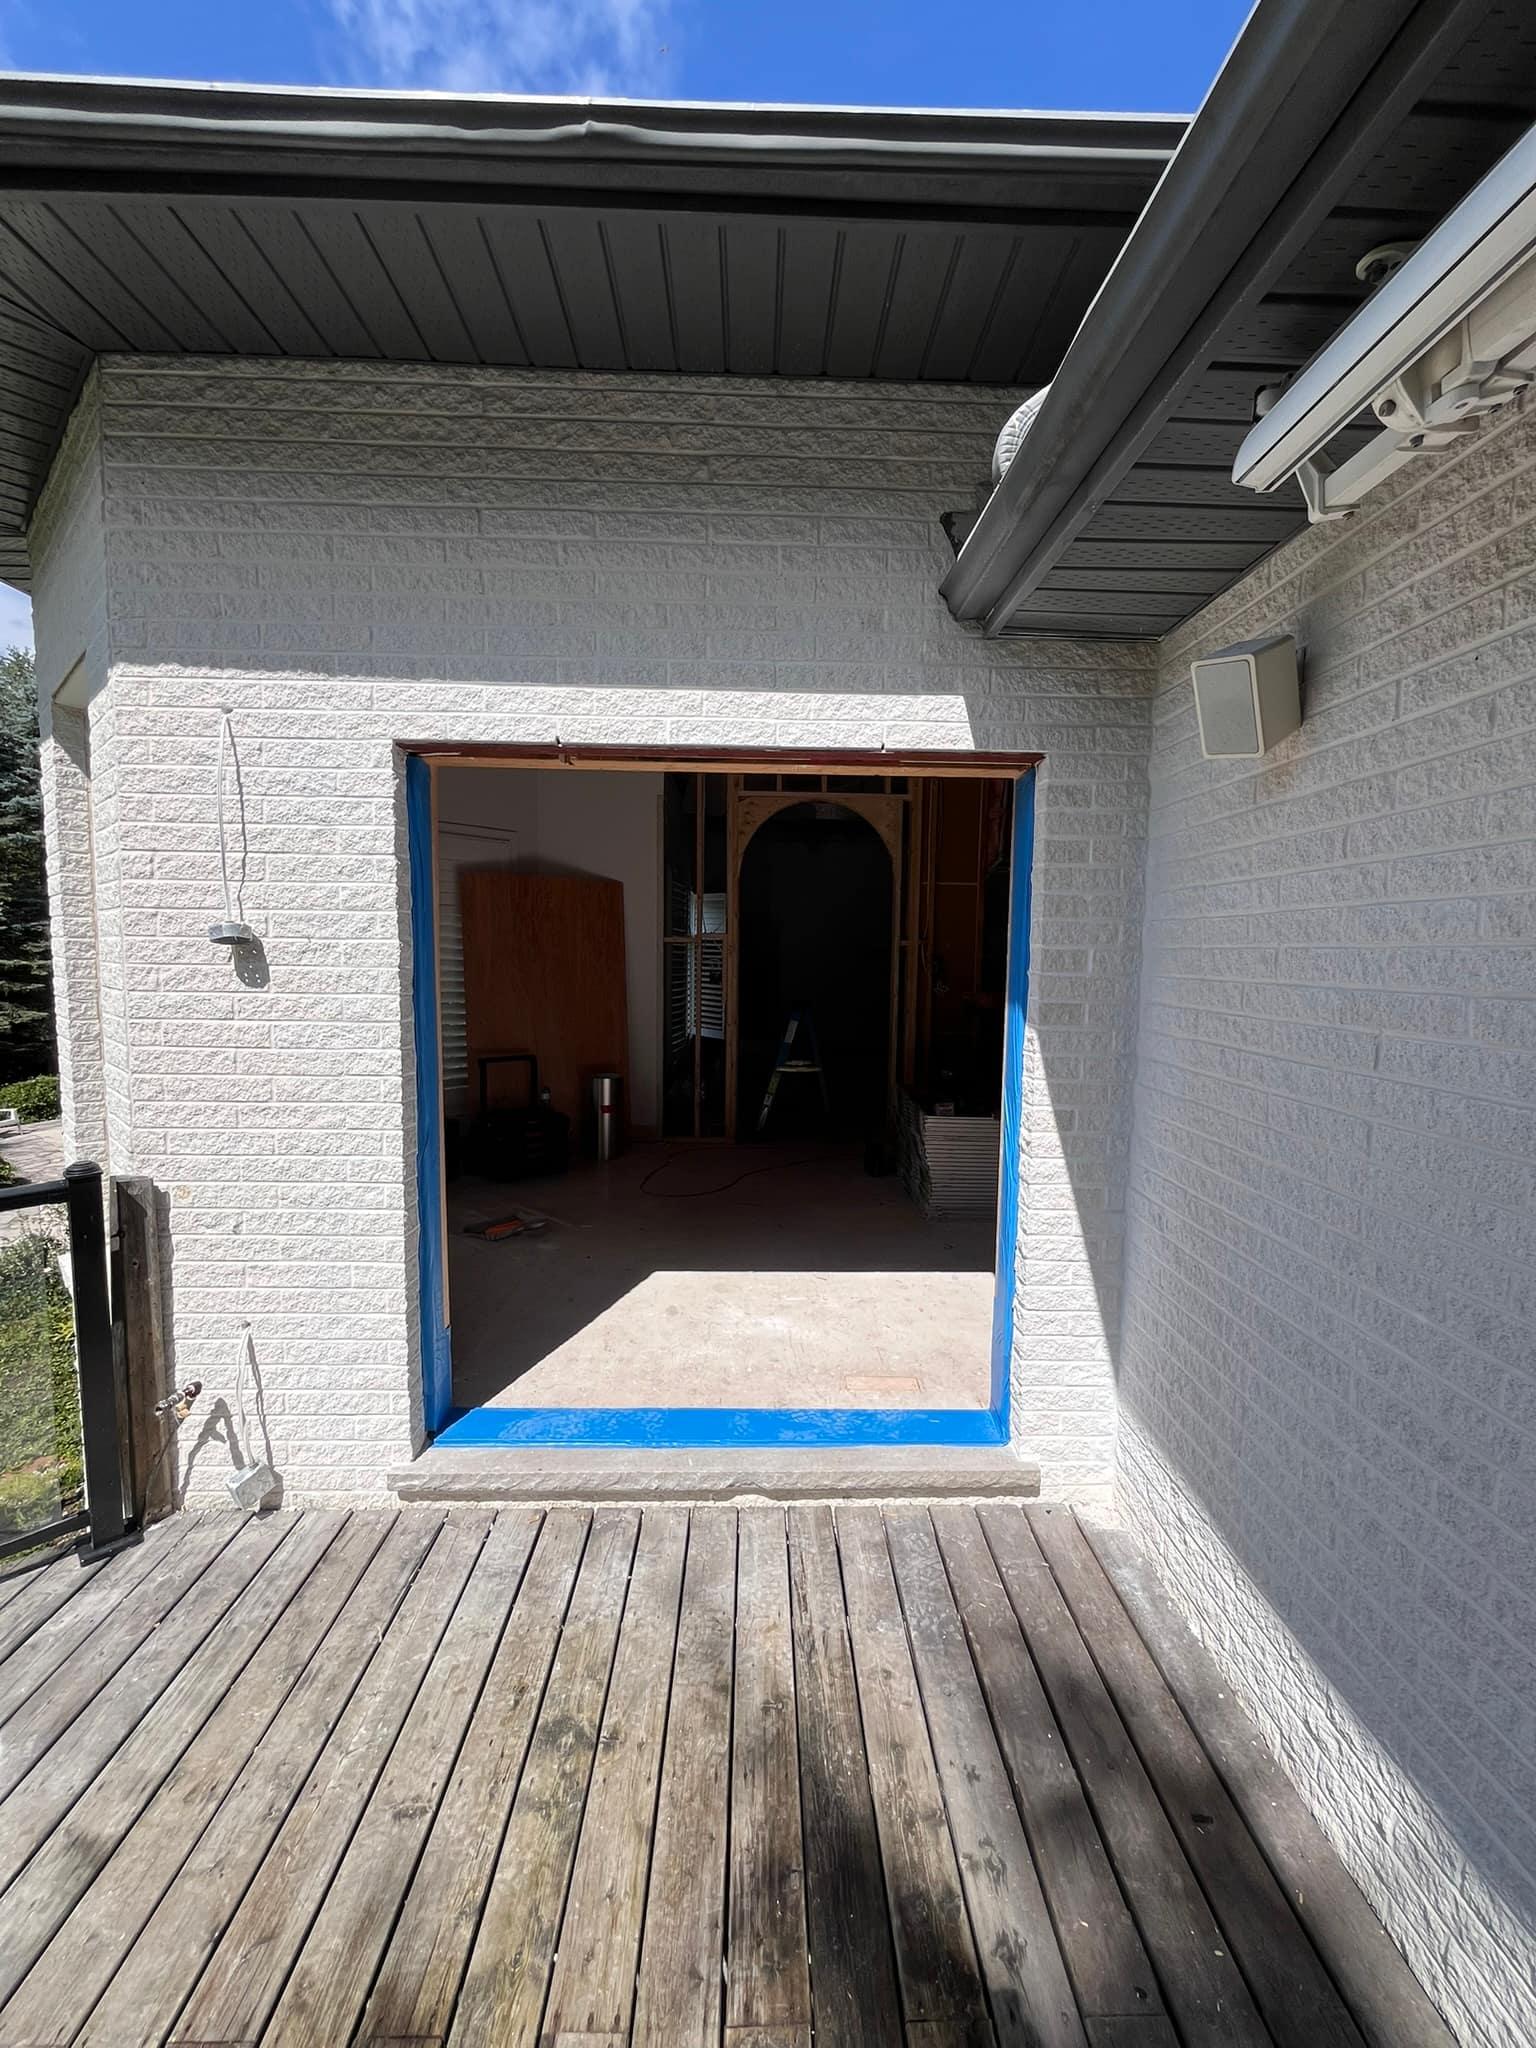
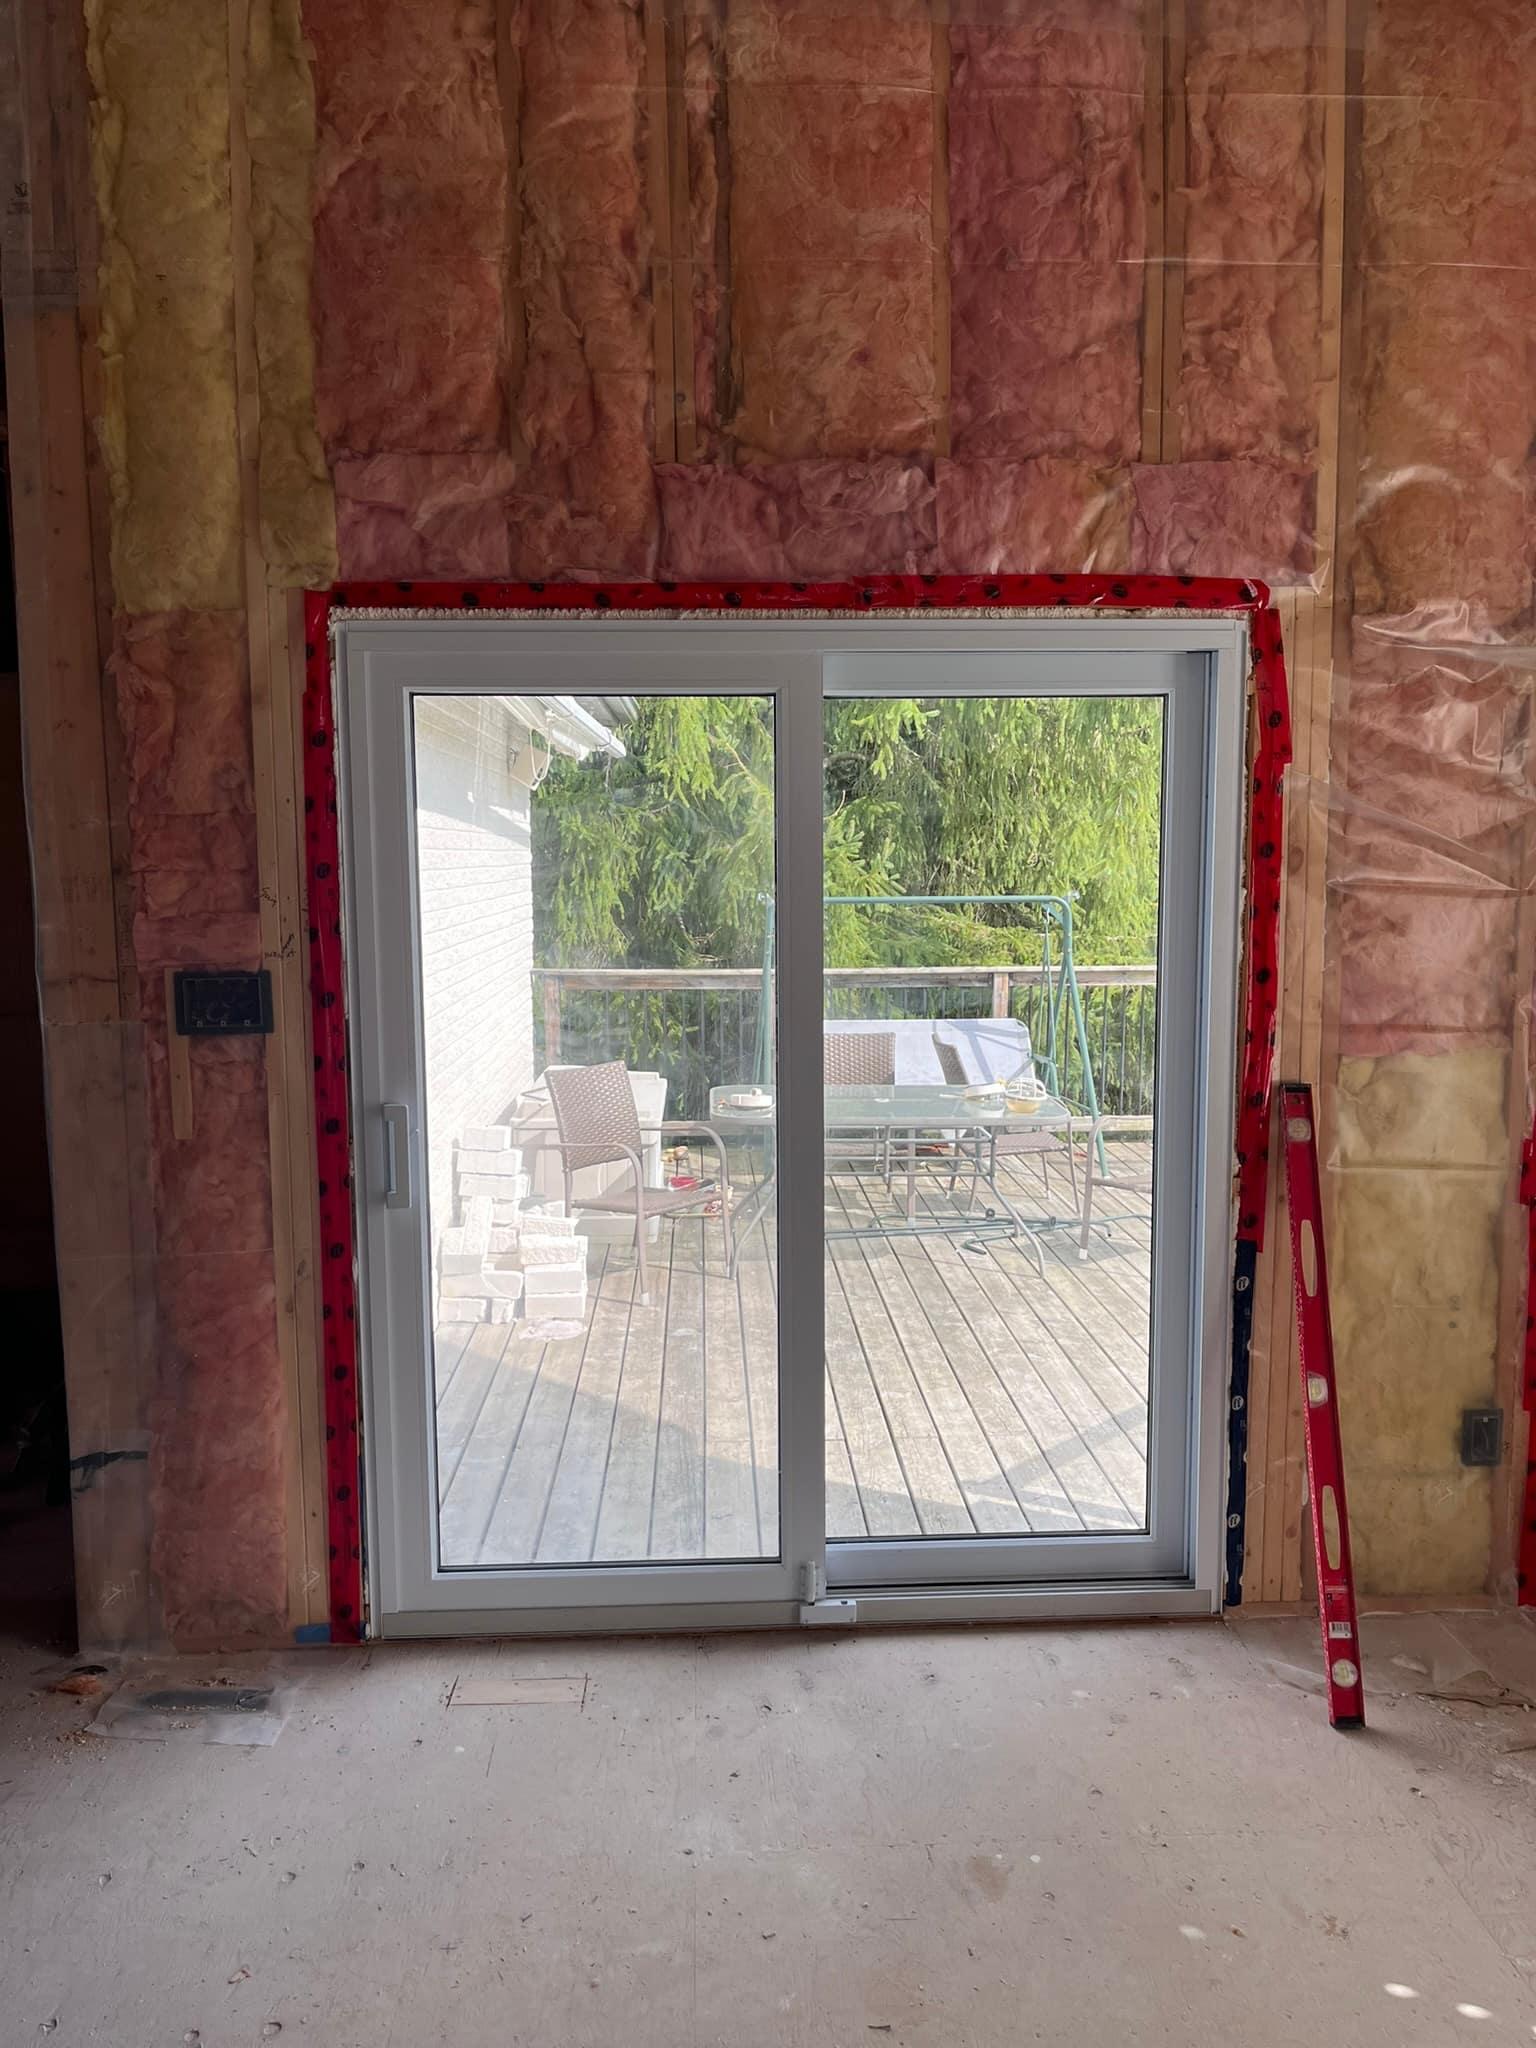
Opening widened and reframed to patio-door size, then flashed and taped before the door went in.

Widened opening from inside, framed and flashed
Widened opening from the deck, taped and ready for the door

Step 3

Door installed

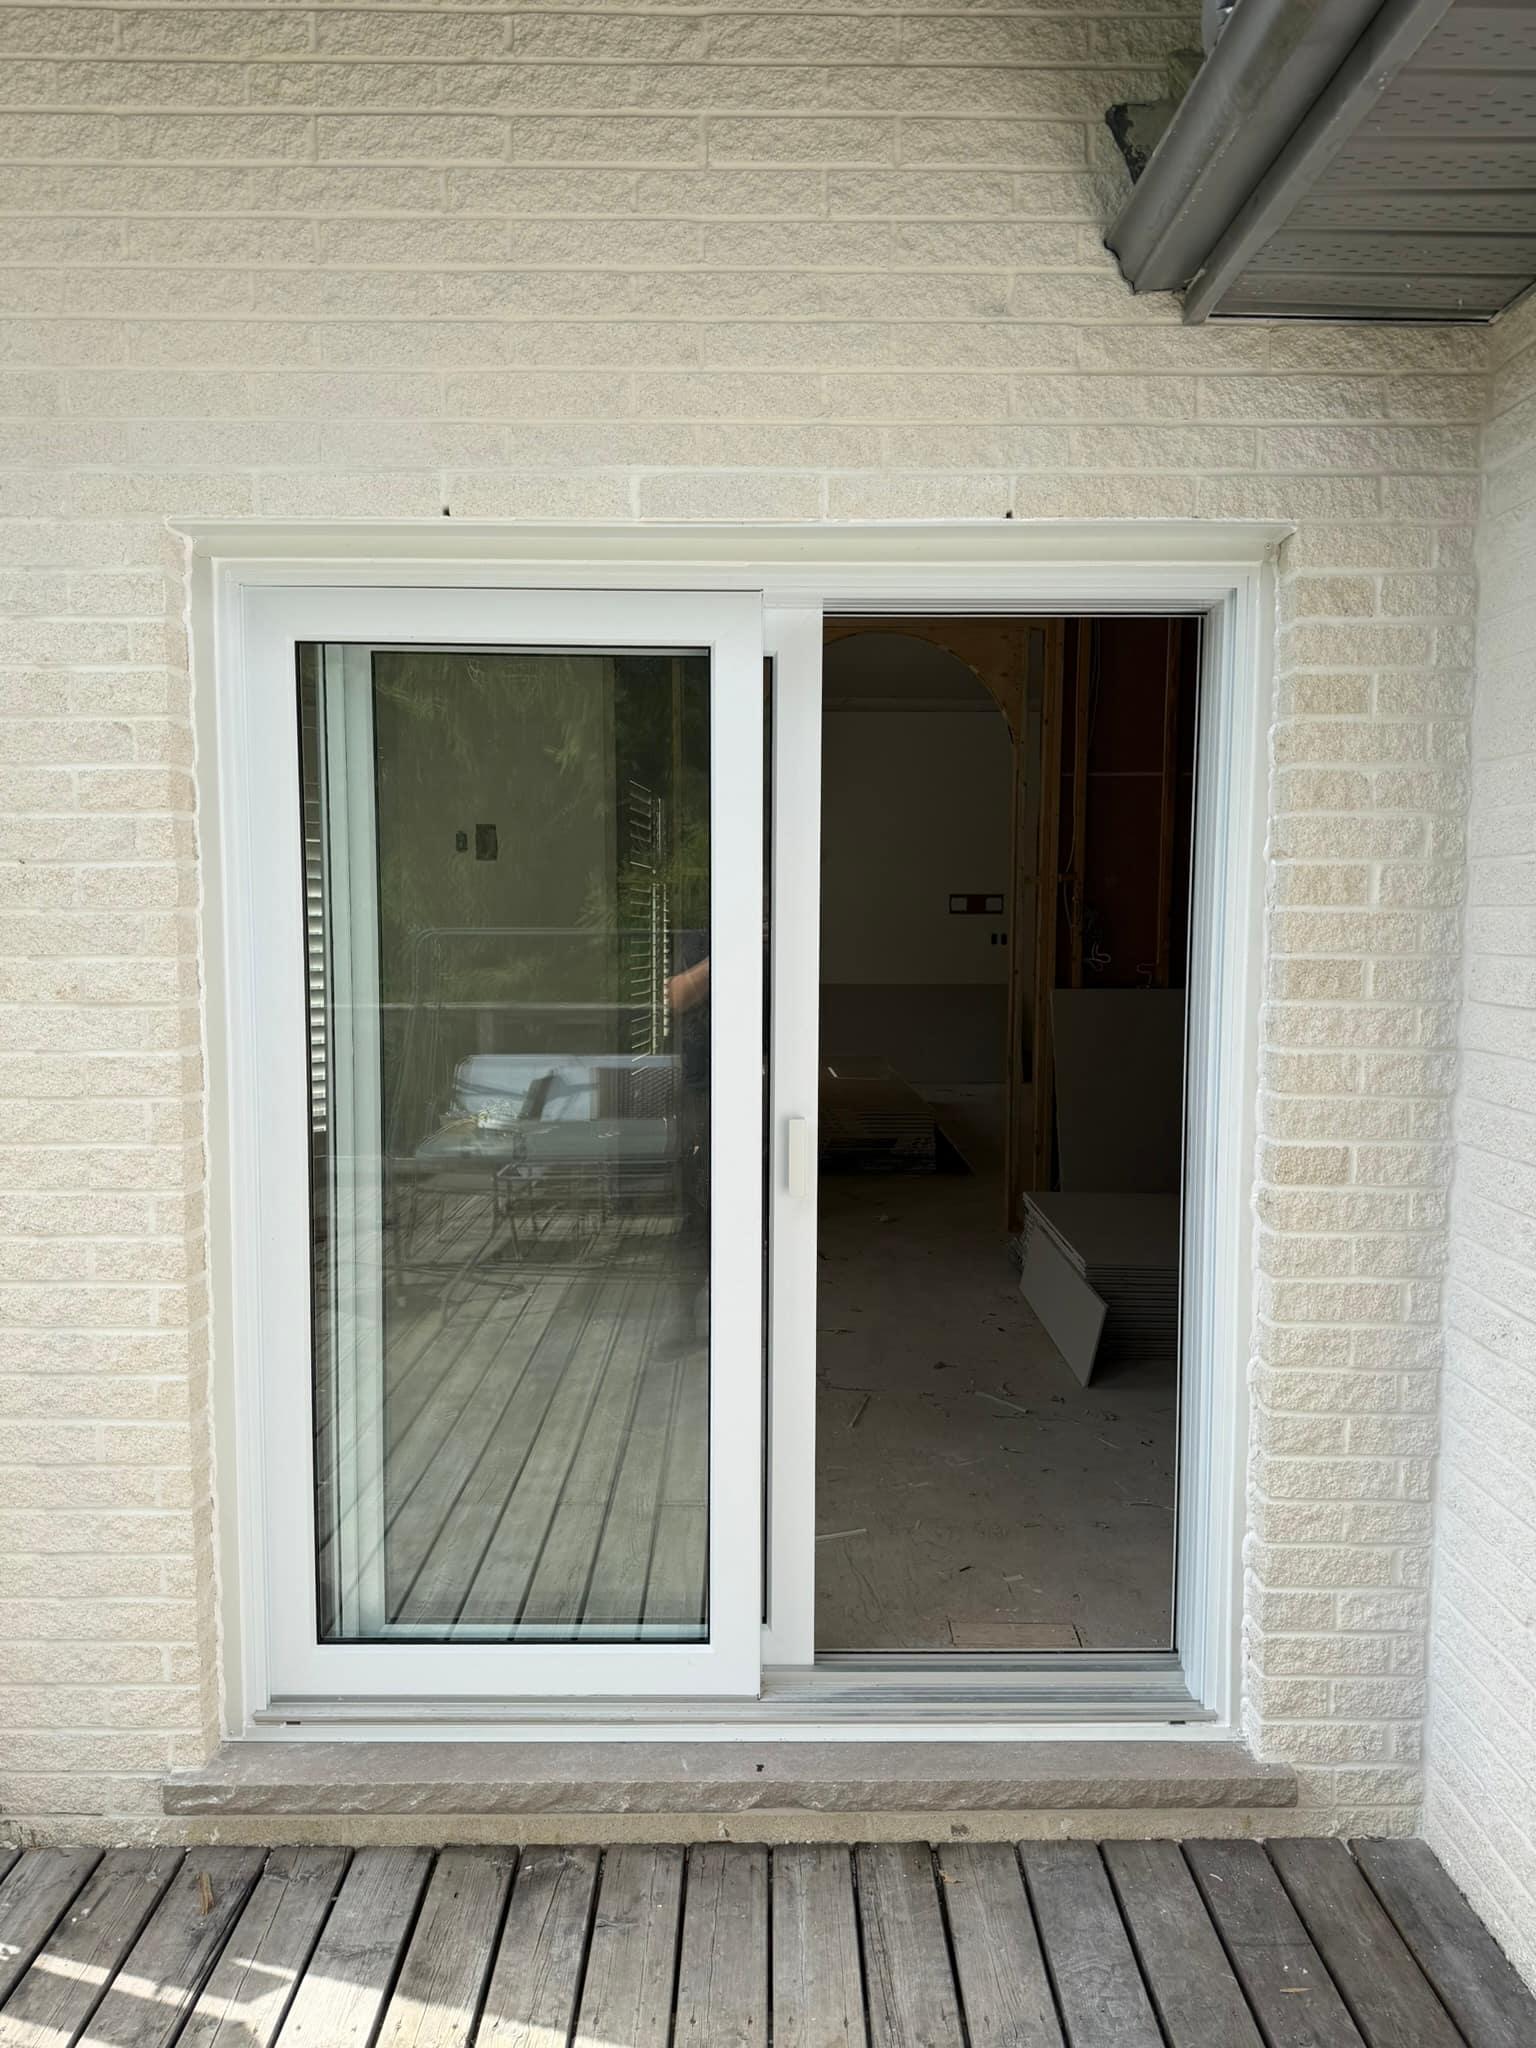
Exterior capped; the interior photo shows the door before wall and trim finishing.

Installed sliding patio door from inside before the wall and trim are finished
New sliding patio door from the deck

Get your window or door estimate.

Send photos and rough measurements. Marko will prepare your estimate.